
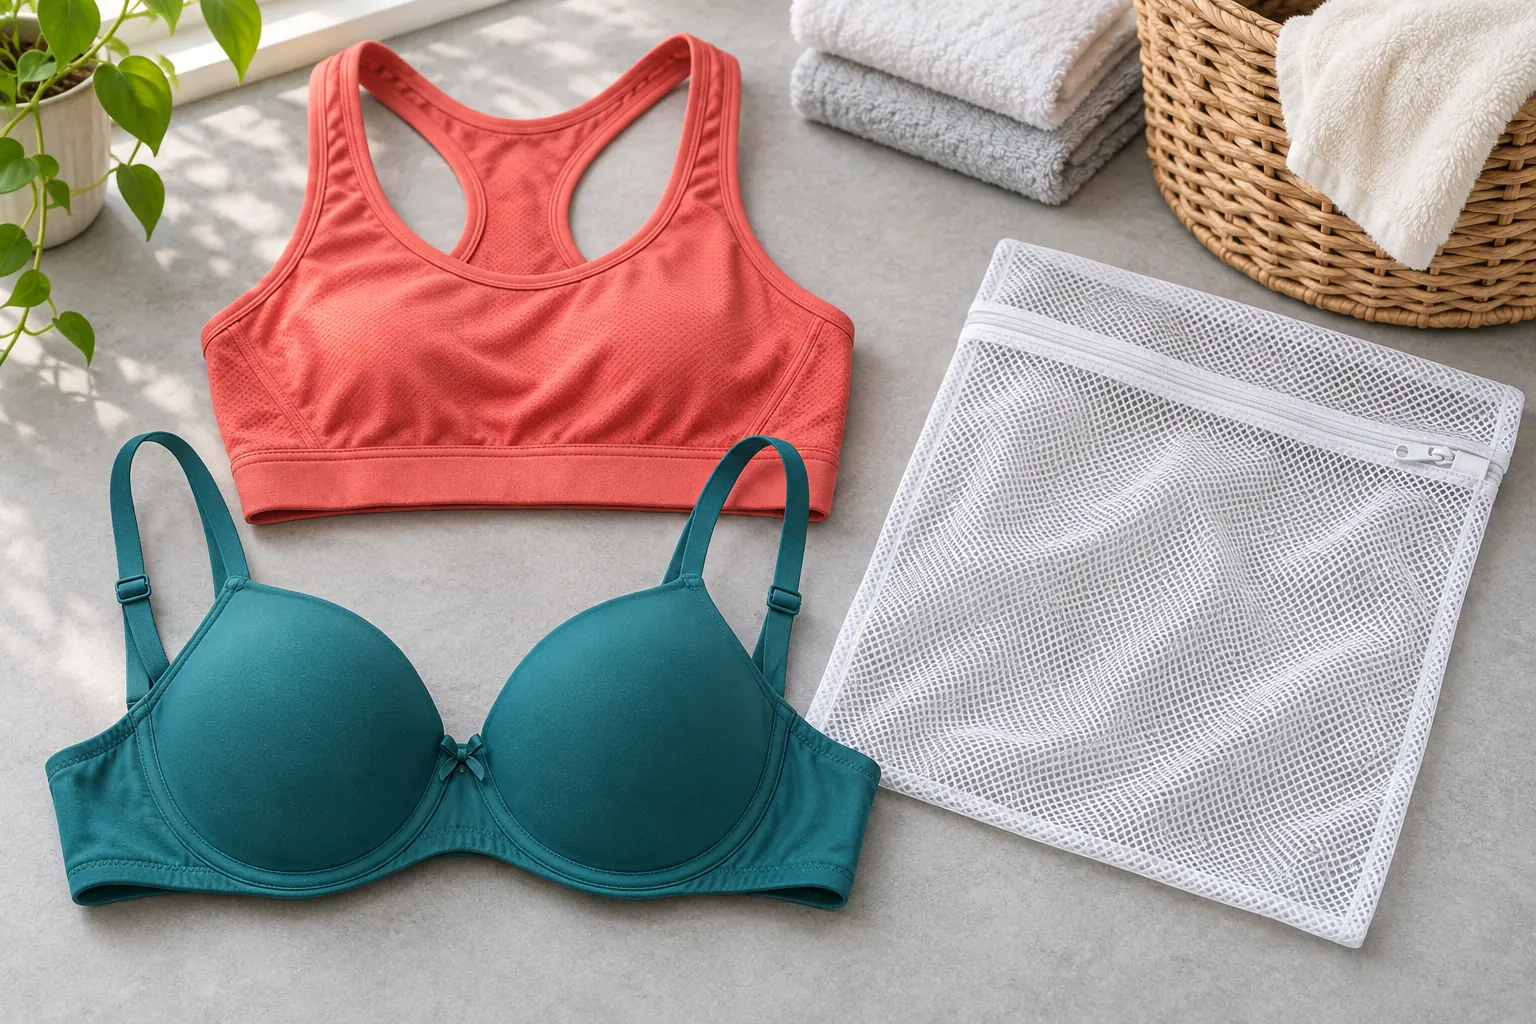
To wash bras, follow the care label for the complete garment, not just its fabric. Handwash when required; use a washing machine only when the label permits it. Protect hooks and delicate details, treat removable pads as separate components, and allow the bra to dry in its natural shape before storing it. A mesh bag reduces contact with other laundry, but it does not turn a handwash-only bra into a machine-washable one.
This guide covers ordinary everyday bras, bralettes, and sports bras. It does not give cleaning instructions for adhesive cups, electronic garments, breast forms, or prescribed postoperative garments. Those items need their own product directions. The aim is to make the choices around a normal wash understandable: what can share a load, what needs separate handling, and when a laundry problem is actually a condition or fit problem.
What should you check before putting a bra in water?
Find the sewn-in label, printed care panel, or product instructions first. Read the washing method, temperature, bleaching restrictions, and drying method together. A machine-wash symbol is not permission to use any cycle. Likewise, permission to wash in water does not automatically permit a tumble dryer. Our laundry care-label guide explains the symbols if the instructions are not written out.
Look at construction as well as fiber content. Two bras containing nylon and elastane can have very different cups, seams, wires, lace, and bonded details. One may be a simple unpadded bralette; the other may have a structured cup and several layers. A useful first question is therefore not whether nylon can be washed, but whether this assembled garment can tolerate the method you intend to use.
If the label is missing, look for a style number on another tag or the purchase record. Ask the manufacturer for instructions for that model. A photograph of the whole bra, its closures, and the remaining label can make that question easier to answer. Avoid borrowing directions from a similar-looking product unless the maker confirms they apply. Keep an uncertain item out of a mixed load while you resolve it; the cost of waiting is usually more predictable than the result of guessing.
How do you choose between handwashing and machine washing?
Use three groups: handwash required, machine wash permitted, and instructions unresolved. Do this before sorting by color. A black handwash-only wired bra and a black machine-washable sports bra belong in different washing groups even though their colors match. A pale machine-washable bralette does not belong in the same color group as a dark new garment merely because both allow a delicate cycle.
Wacoal’s UK lingerie-care guide specifies handwashing and air drying for the lingerie it describes. By contrast, Tide’s bra-washing guide recognizes that some bras are machine washable but tells readers to check the garment label first. These are not competing permissions for your particular bra: its own directions determine which route is available.
Handwashing offers control over the individual item, but it requires an appropriate basin and time to rinse and dry it. A permitted machine wash can fit a household routine more easily, but the cycle, detergent, companion items, and drying plan still need to match. If handwashing is difficult for you, ask the manufacturer about an acceptable alternative rather than assuming the washer’s handwash-named program is equivalent. For future purchases, care requirements can be a practical selection criterion alongside fit and comfort.
What condition checks matter before washing?
Inspect the bra while it is dry and easy to handle. Look along the underwire channels, at the ends of the band, around strap attachments, and beside hook-and-eye closures. Note an exposed wire, a sharp or bent hook, loose stitching, a torn pad pocket, or foam that is splitting. Set a damaged item aside instead of expecting the wash to correct it. This also keeps you from later mistaking an existing defect for damage caused by the most recent cycle.
A quick reference photo can be useful if you are troubleshooting a recurring problem. Photograph a crease in the cup or a strap attachment before washing, then compare it after drying. This is a household record, not a test of the product or a guarantee that washing will preserve it. It helps distinguish a crease that was already present from something newly noticed.
Do not keep wearing an item with exposed sharp hardware while waiting to see whether cleaning improves it. Contact the seller or maker about repair or replacement options. If a bra already feels loose or no longer sits as it used to, treat that as a separate fit or condition question. More detergent, hotter water, or an extra cycle is not a reliable way to restore its original structure.
How should you organize hooks, straps, and removable pieces?
Make a small component inventory before washing: one bra, perhaps two removable pads, and any straps designed to detach. Check what the manufacturer actually intends you to remove. An accessible pocket opening is different from a sewn seam. Do not open stitching to extract a pad or wire, and do not pull apart bonded layers because you can see an edge.
For a machine-permitted bra, close its hooks as directed before putting it into a suitable laundry bag. Tide includes fastening the bra and using a mesh bag in its machine-wash steps. Check the bag itself for holes, a broken closure, or a rough zipper edge. Place the garment so that cups are not forced inside out just to fit the bag. If it cannot fit without being crushed, choose a more appropriate bag or use a permitted alternative washing method.
Keep detachable pieces with their owner in a way that also preserves their care instructions. For example, set the left and right pads beside the matching bra during preparation, then keep them together through drying. In a shared household, a separate tray or labeled basket can prevent someone from inserting the wrong pads later. A label attached to the basket is preferable to writing on a garment whose finish may not tolerate ink.
Which detergent choices need special attention?
Read both the garment’s restrictions and the detergent directions. A product described as mild still needs to be suitable for the method and material. Handwashing a small item in a basin is not the same dosing situation as washing a full machine load. Measure for the actual task; do not copy a large-load dose into a small bowl or assume a capful is a standard unit across brands.
Wacoal Singapore’s care instructions call for neutral detergent dissolved in the water first rather than applied directly to the fabric. That is an important limit when another general laundry page suggests rubbing concentrated detergent onto stains. For a garment with that restriction, follow the restriction. The product’s complete instructions matter more than a shortcut borrowed from a different wash routine.
Keep the initial process simple enough that you know what you used. Combining a detergent, deodorizing additive, whitening treatment, and softener makes it harder to identify what left a residue or changed the fabric. Do not add bleach because the bra is white, or assume a color-safe label makes a product suitable for every elastic, foam, or lace component. If an additive is not clearly allowed, omit it and ask about a compatible treatment. This is a care decision, not a claim that every additive damages every bra.
How do you handwash a bra without unnecessary pulling?
Start with a clean basin and the water temperature allowed by the garment. Make sure the surface has no leftover household cleaner. Arrange a clean towel and a drying space before wetting the bra so you do not need to carry it around while deciding where it will go. Add the compatible detergent according to its directions, including dilution instructions, then place the bra in the solution without folding a structured cup sharply.
Bravissimo’s care guide describes gently working wash water through the garment, rinsing with clean cool water, and avoiding wringing. Use that gentle handling only within your own label’s permissions. Support the cups and band when lifting the bra; do not use one narrow strap as a handle for the whole wet item. Attend to a marked area without turning the entire garment into a twisted bundle.
Use the soaking time allowed by the garment and cleaning product rather than leaving it indefinitely. Put a reminder somewhere you will notice if you are likely to walk away. When the wash step is complete, replace the wash water with suitable rinse water or use the rinse method the maker gives. Check around seams and layered areas instead of judging only the first splash of water. If rinsing is required, complete it before moving on to drying; skipping that step is not a useful time saving.
How do you plan an allowed machine wash?
Read the washer’s cycle description as well as the bra label. A program name alone does not tell you its temperature, agitation, or final spin. Check any adjustable settings before pressing start, especially if the previous load used hotter water or a stronger cycle. A remembered setting from towels or work clothes may not be appropriate for the delicates you have just loaded.
Whirlpool’s bra-care guide describes fastening bras, using a mesh lingerie bag, mild detergent, and a delicate wash for machine-suitable items. It also notes that precautions do not guarantee preservation of the bra’s shape. That distinction matters: the bag is a handling aid, not a protective shell that cancels the label or the force of an unsuitable load.
Choose companion items that can share the same method, temperature, and detergent without creating an obvious snagging or crushing problem. Do not fill unused space with heavy laundry simply to make a delicate load look economical. Follow the washer’s loading instructions; where its requirements and the small delicate load do not work together, choose another permitted method. Arrange to remove the bra when the cycle ends, inspect it, and take it to the planned drying area rather than automatically transferring the whole load to a dryer.
What is different about removable sports-bra pads?
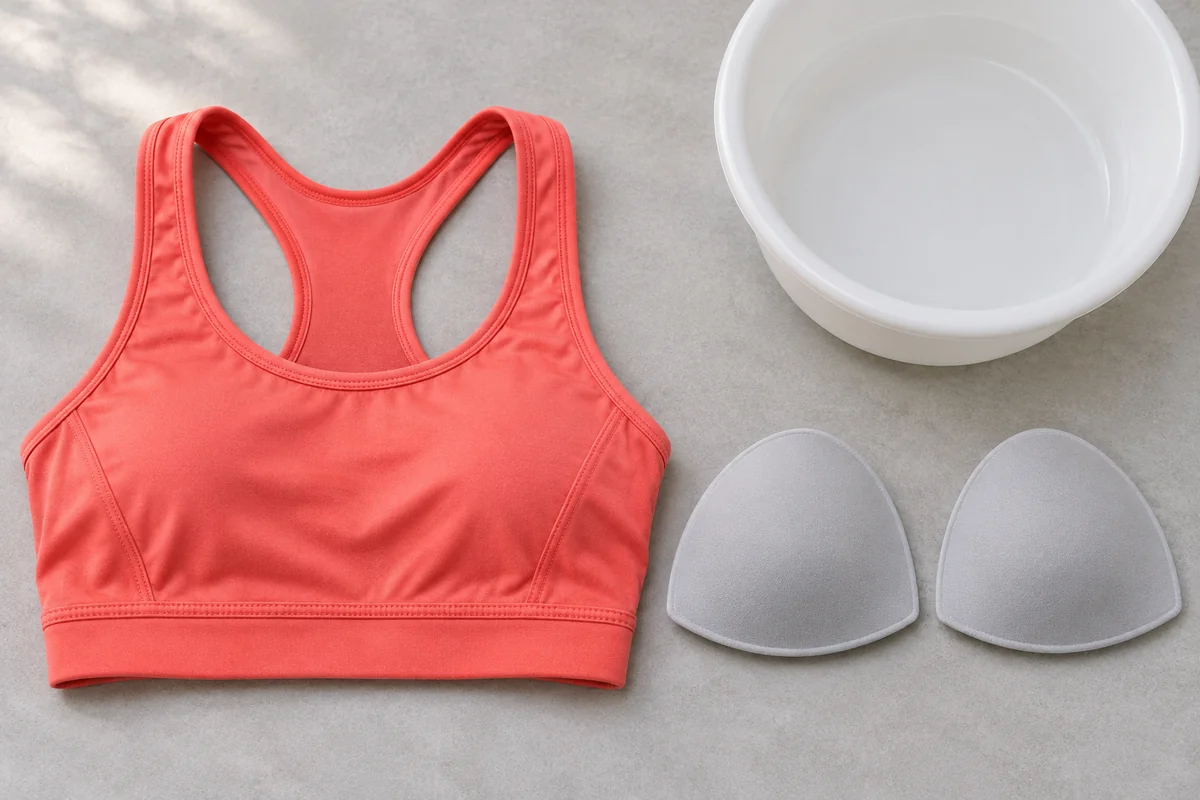
Removable pads create a second care decision. The outer bra and the insert may not have identical washing or drying instructions. Nike’s guidance on bra-cup bunching advises taking removable pads out for washing, handwashing them, and letting them air dry. It also explains that incorrect replacement can leave the pads folded or misaligned. Apply this as a model-specific reference, not permission to remove padding that is sewn in.
Before taking pads out, notice their orientation. Some are visibly shaped or have different top and bottom edges. A simple photograph of their position can save repeated trial and error. Keep each pair together, and inspect the pocket opening before reinserting anything. A torn opening or a pad with a separating edge deserves attention rather than being forced back through a small gap.
Wait until both the pads and the garment are dry before reassembly. Insert each pad gently, then smooth it into position without stretching the pocket opening. Run your hand across the cup to check for a folded corner. If the pad will not sit correctly, stop and check whether it belongs to that bra and is facing the right direction. A persistent ridge is not necessarily a washing failure; the insert may be misplaced, mismatched, or already deformed.
How should you handle molded cups and sewn-in padding?
Do not treat a molded cup like a flat washcloth. Preserve the intended curve during preparation, washing, moisture removal, and storage. Wacoal’s UK guide specifically cautions against inverting molded or padded cups for storage. The practical implication is to choose a container and drying space that fit the garment, instead of folding it into whatever small space happens to be available.
For sewn-in padding, wash the complete item only as directed. A seam that appears to divide the layers is not an invitation to disassemble them. If the cup contains decorative trim, lace overlays, or bonded sections, include those details when asking the maker about a stain treatment. A remedy suitable for the inner fabric may not be appropriate for the outside finish or the material between them.
If a cup looks different after washing, compare the two sides and check whether the issue is an inserted pad, a crease, or an actual separation in the material. Reshape only with the gentle handling permitted by the maker. Avoid an improvised iron, steamer, or hot dryer treatment intended to force it back into shape. Document a new defect and ask the seller about the appropriate next step before making a change that could make the original problem harder to assess.
What can you do about deodorant marks and localized soil?
Identify the affected component before choosing a treatment. A mark on the band is different from a mark on a molded cup, and lace laid over foam gives you two materials to consider. Note whether the mark is on the skin-facing surface or the outside. This helps you describe the problem accurately if you need advice and avoids treating a much larger area than necessary.
Bravissimo recommends gentle spot cleaning with a delicates detergent, particularly around the band and underarm areas. Wacoal Singapore, however, warns against direct detergent application. Use the method allowed for your garment; where directions differ, do not combine them into a more aggressive procedure. If the approved product calls for a hidden-area check, follow that instruction and inspect the result before proceeding on a visible panel.
Do not interpret a stubborn cosmetic mark as proof that the entire bra needs stronger chemicals or higher heat. Check the result of one permitted treatment before escalating. Stop if you see color transfer, surface change, loosened decoration, or a new distortion. Some marks may remain despite reasonable care. Accepting an appearance limitation can be a better decision than continuing until the garment’s structure is compromised. This guide does not promise stain removal or prescribe a treatment for contamination that needs a specialist protocol.
How do you remove water and set up drying?
Move the bra from washing to drying with the whole garment supported. If its directions permit towel pressing, use a clean absorbent towel and gentle pressure rather than twisting the bra. Keep shaped cups from being flattened under a tightly rolled towel. The purpose is to manage excess water without making moisture removal a separate source of mechanical stress.
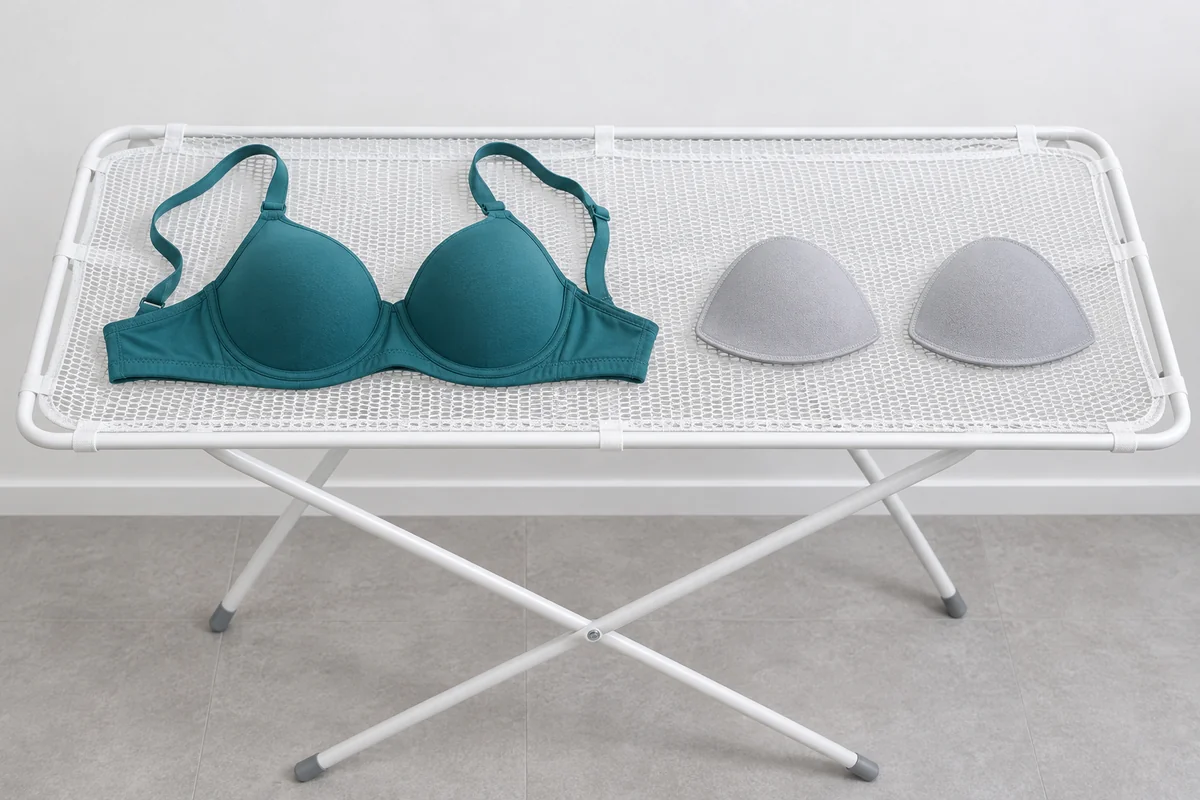
Choose the drying arrangement the label permits. A flat support gives you an easy way to keep pieces organized and inspect them. Where hanging is allowed, follow the maker’s hanging instructions rather than choosing the thinnest strap for convenience. Wacoal’s UK guidance advises against suspending bras by the straps or band and against radiator or machine drying. Do not interpret a nearby warm surface as a substitute for the air-drying method specified.
Give the item room instead of burying it under the rest of a delicate load. Check the surface beneath it; if a towel stays wet, replace it with a clean dry one as appropriate. Keep paired inserts nearby but separate while they dry. Consider where other household members will put laundry during this time, so the drying bra does not become the bottom layer of a pile. A predictable drying spot is often more useful than a complicated washing routine.
How can you tell whether the bra is ready to put away?
Check more than the exposed outer fabric. Feel the band, seams, cup edges, and any padding that you can access without pulling the garment apart. Turn or reposition the item if necessary to inspect the part that rested against the support. A surface that feels dry is not proof that every layered area is ready for storage.
Avoid assigning one guaranteed drying time to every bra. Thickness, construction, the drying arrangement, and room conditions differ. Plan with enough flexibility that a still-damp garment can remain out, and have another suitable item available when possible. If you must leave the house, do not fold a damp bra into a drawer simply because its allotted drying time has ended.
Once dry, check the garment as a whole before putting it away. Confirm that detachable pieces are present, straps have not become twisted, and hooks are not caught in lace. Return it to a space that accommodates its construction. Keep the care instructions available for the next wash, especially if another person does household laundry. For a mixed collection, a short note separating handwash-only items from machine-permitted ones can prevent the same sorting decision from being guessed each week.
How often should bras enter the wash routine?
Use the maker’s guidance and the actual wear situation rather than a universal calendar. A bra worn briefly in a cool room and a sports bra soaked during exercise do not present the same laundry task. Visible soil or substantial perspiration should prompt attention rather than waiting for a predetermined rotation day. Conversely, repeatedly rewashing a clean, unused item just because other laundry is ready does not solve a care need.
Even published brand guidance varies. Wacoal Canada’s bra-care page recommends washing after each wear, while the UK guide describes every other wear for its lingerie. These differences are a reason to consult your product’s instructions, not to calculate a universal average. This article does not set a medical hygiene threshold or claim that a particular number of wears is safe for everyone.
Build your rotation around what you can actually wash and dry. If handwashing several items at once creates a drying backlog, smaller sessions may be easier to finish. If machine-permitted items can join a compatible load, set a separate reminder to remove them before the drying transfer. Use a designated place for worn items so that someone sorting laundry can tell them apart from clean pieces awaiting storage. A useful routine makes the status of each garment obvious.
How do you troubleshoot a bra that still seems wrong after washing?
Begin with the symptom instead of repeating the entire process. For a folded cup, check removable-pad placement. For a slippery or coated feel, review the detergent amount and whether the required rinse was completed. For a bra that feels different in the band, compare its condition with what you recorded before washing. For a missing pad, check the bag, basin, and drying area before assuming it went through the drain.
If an odor remains, check the entire cleaning and drying sequence before adding fragrance. Was the permitted wash actually completed, or was the item only rinsed? Did the pads receive their separate care? Was it stored while still damp? These questions identify possible gaps without asserting that any one of them is definitely the cause. Follow the manufacturer’s troubleshooting advice if a normal permitted wash does not resolve the issue.
Keep a simple record when a problem recurs: garment model, cleaning product, approximate measured amount, method, and drying arrangement. Change only an allowed variable, not several unverified treatments at once. If the garment is deteriorating, stop experimentation and ask about its condition. Do not describe a smell-free or visually clean result as sanitization; ordinary garment care and validated decontamination are different claims, and this guide addresses only the former.
How can travel and shared laundry change the plan?
For travel, check washing and drying possibilities before packing the item you will need immediately after arrival. A room with no suitable drying space may make a handwash impractical even when a sink is available. Bring the care information with you, and keep a compatible cleaning product in its identified container. Avoid substituting a hotel bathroom product merely because it creates suds.
If a garment must be transported before it is washed, separate it from clean pieces and deal with it promptly when you can follow the intended routine. Do not count travel time in a bag as part of air drying. Once you reach a suitable place, unpack it and reassess the wash and drying plan instead of automatically returning it to a drawer.
In shared laundry, make instructions specific to the item. A note saying only delicates is less useful than a note that identifies handwashing, separate pads, and the allowed drying method. Do not assume another person’s usual routine matches yours. If you are considering paid laundry help, ask whether the exact garment and all of its care requirements are accepted before including it in an order. Fresh Spin questions can go through the contact page; this guide does not promise specialty bra handling.
What decisions should you make for a mixed basket?
Imagine a basket containing a handwash-only lace bra, a machine-permitted unpadded bralette, and a sports bra with removable inserts. Start with three instruction checks, not one general delicate setting. The lace item stays on its required route. The bralette may join compatible laundry after its closure and bag are prepared. The sports bra needs its own shell and insert instructions checked before you decide whether any part can share that load.
Now add a second constraint: only a small drying surface is available. Washing all three at once may be less practical than finishing one group first. Work backward from where each item will dry and when it is next needed. This is not a recommendation to leave soiled clothing indefinitely; it is a way to avoid beginning more washing than you can complete properly.
Finally, consider the rest of the basket separately. Swimwear may resemble a sports bra but have different restrictions; use the swimwear-care guide for that category. School or team garments also have their own requirements, covered in the uniform-care guide. Shared appearance, color, or use does not by itself establish wash compatibility. The organizing principle is matching directions, not putting everything worn for exercise into one load.
What information helps a manufacturer answer a care question?
When a care problem is unresolved, describe the exact decision rather than asking whether the bra is washable. Include the brand, style number, readable label text, and the feature causing uncertainty. For example, ask whether the removable inserts have the same care method as the shell, or whether a listed handwash requirement has an approved machine alternative. A narrowly stated question is easier to answer than a request for a general laundry routine.
If the question concerns a cleaning product, supply its actual name and relevant instructions. Mild detergent is a category description, not an exact formula. Tell the maker whether you want to use it diluted in a basin or as a localized treatment. If the question concerns a washer, give the available cycle, temperature, and spin choices rather than just saying that the machine has a gentle button. You are checking compatibility, not asking the manufacturer to endorse your entire laundry setup.
For a new defect, include photographs taken without stretching or manipulating the damaged area. Explain whether it was present before washing and describe the method you used accurately. Keep the item and purchase information available while the question is being resolved. Avoid repeated treatment in the meantime: it can change the evidence and leaves you less certain about which action produced which result.
Save the answer with the garment’s care record, including the date and model it refers to. Do not apply that reply automatically to another style from the same brand. This small record is particularly useful when a label fades, a household member takes over the washing, or replacement inserts are purchased later.
What are the most common bra-washing questions?
Does a mesh bag make every bra machine washable?
No. Use it as an aid only when machine washing is permitted. The bag does not change the garment’s temperature limits, required washing method, or drying instructions. If a label requires handwashing, the next step is to handwash as directed or ask the manufacturer about alternatives, not to find a sturdier bag.
Can you wash every bra in a matching set the same way?
Check each item. Coordinating color or fabric does not establish identical construction. An unpadded piece and a molded-cup bra may carry different restrictions. If the set includes another garment, read its label independently and group only the pieces with compatible instructions. Keep detachable accessories identified throughout the process.
Should you remove every kind of padding?
No. Remove only pieces designed to come out, and follow the instructions for those pieces. Sewn-in padding stays part of the garment. Do not cut a seam or enlarge a pocket opening to follow generic advice about removable pads. Ask about the model if you cannot tell which construction you have.
Can a quick hot dry restore a loose band?
Do not use heat as an improvised fit repair. A loose band needs a condition or fit assessment, not a hotter version of the drying process. Heat that is outside the care instructions can introduce another problem without restoring the original garment. Check the maker’s advice before attempting any corrective treatment.
What should you do when the care label and a web guide disagree?
Follow the garment-specific directions and seek clarification from the manufacturer when necessary. General guides explain a category; they do not identify every material or construction in your item. Save the model information and the reply so you can repeat the confirmed method without having to resolve the same conflict next time.
What is the simplest complete routine to remember?
Identify the care method, inspect the garment, organize removable pieces, wash with a compatible measured product, complete the required rinse, and dry according to the label. Then check condition and dryness before reassembly and storage. Each stage answers a different question; none needs an invented treatment, a guaranteed timetable, or a promise that cleaning will repair wear.


