
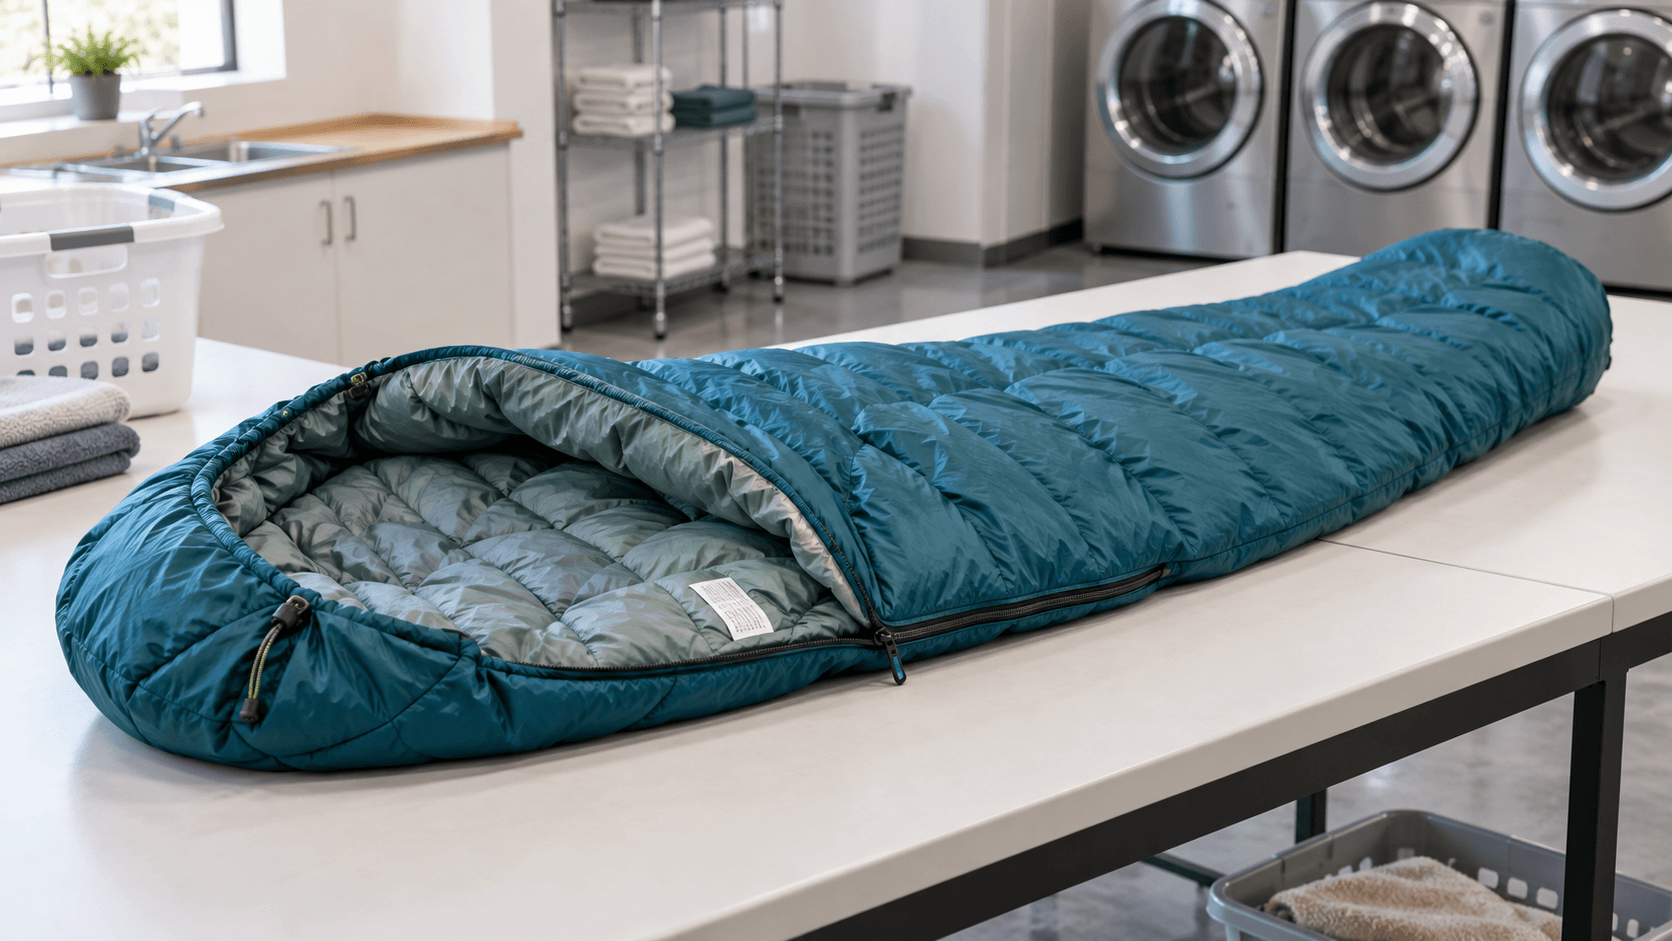
How to Wash a Sleeping Bag Without Damaging Its Insulation
Quick answer: Read your sleeping bag’s care label first. If it allows machine washing, use a front-loading washer or a top-loader without a center agitator, choose a cleaner that matches the insulation, use a gentle cycle, rinse thoroughly, and dry on low heat until the fill is completely dry and evenly lofted. Never assume every sleeping bag can be treated the same way, and never put a wet bag away in its stuff sack.
A sleeping bag can look clean on the outside while body oils, sunscreen, dust, and moisture are changing the way its insulation behaves. That matters most with down, whose clusters need room to expand and trap warm air. Synthetic insulation is less sensitive to damp conditions, but it can still hold residue, dry unevenly, and lose some loft after poor washing or storage. The goal is not to wash a bag as often as ordinary bedding. The goal is to clean it only when it needs it, use a method the maker permits, and dry it patiently enough that it is ready for the next trip.
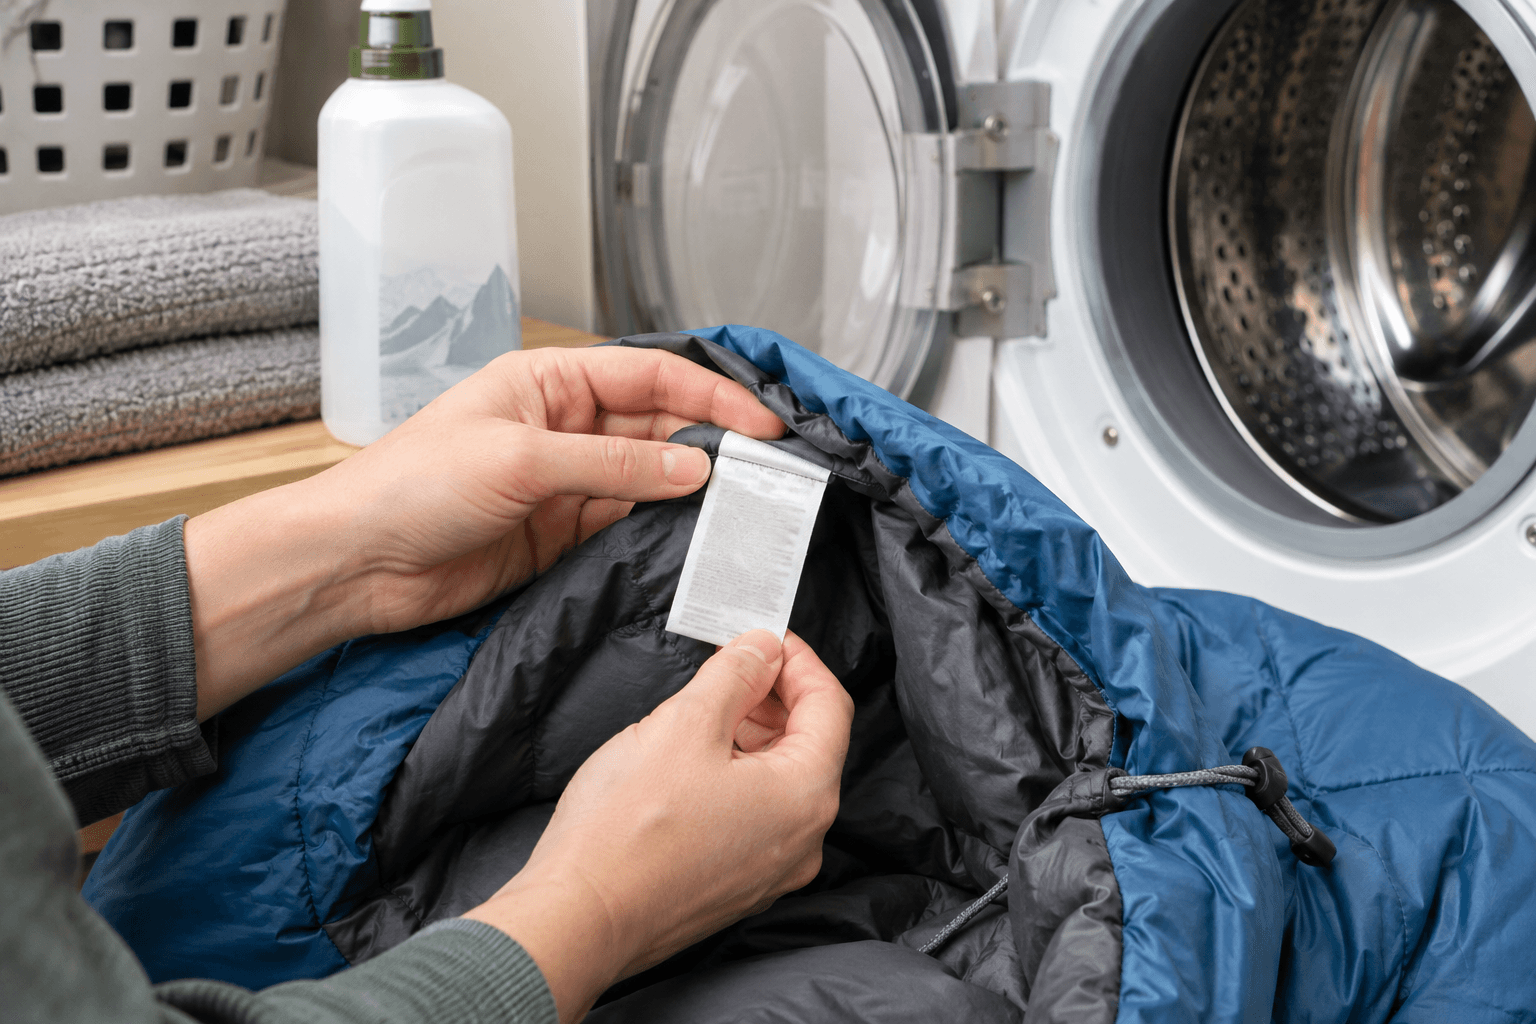
This guide is a decision-first process. It separates down from synthetic insulation, explains when a full wash is worth the effort, and gives a checklist for machine washing, hand washing, drying, and storage. General instructions cannot override the label sewn into your particular bag. Construction details, shell coatings, treated down, zipper design, and manufacturer warranty requirements vary. When the label, product manual, or maker’s care page conflicts with a general step below, follow the maker.
Can you put a sleeping bag in a washing machine?
Often, yes, but the answer depends on the bag and the washer. A roomy front-loading machine is commonly recommended because there is no center agitator for the bag to wrap around, and the bag has space to move through the water. A top-loading machine without an agitator may also be suitable if the bag’s own instructions allow it. A top-loader with a tall center agitator is the machine to avoid: the fabric and seams can twist around it, and a wet bag is heavy enough to put real stress on the construction.
That does not mean a washing machine is automatically the best answer. A small home washer can leave a bulky bag cramped and unable to rinse properly. A bag with torn baffles, failing seams, a damaged zipper, unusual insulation, or an unclear care label should be assessed before washing. A professional repair or cleaning service may be the better route for an expensive or delicate bag. REI’s sleeping-bag care guidance and Marmot’s laundering instructions both emphasize checking manufacturer directions and avoiding machines with an agitator.
Before committing to a wash, answer these questions:
- What does the care label say? Look for temperature, machine, dryer, bleach, dry-cleaning, and cleaner instructions. Photograph a fading label before you begin so the instructions stay available.
- Is the insulation down, synthetic, or a blend? Use the cleaner and drying approach appropriate to the fill.
- Does the washer have a center agitator? If it does, do not use it for a bag unless the manufacturer specifically says you can.
- Can the bag move freely? If the drum is too small, the bag may not rinse or tumble effectively.
- Do you have time to finish the job? Drying can take hours, particularly for down. Start only when you can see the process through.
Why does down require different care from synthetic insulation?
Down and synthetic fills both work by holding still air, but they achieve that insulation differently. Down is made of fine clusters that loft into many small air pockets. Oils, detergent residue, and moisture can make those clusters stick together. When that happens, the bag can feel thin, uneven, or heavy even when the shell looks fine. Careful rinsing and complete, low-heat drying help the clusters separate again.
Synthetic insulation is made from manufactured fibers designed to keep some insulating ability when damp. It is generally more forgiving of moisture, but it is not invincible. Strong detergent, softener, bleach, high dryer heat, a cramped drum, or repeated hard compression can still flatten fibers, leave residue, or damage the shell and lining. Both kinds of bag benefit from the same foundational habits: gentle cleaning, no center agitator, thorough rinsing, low heat, and fully dry storage.
The cleaner matters because ordinary laundry detergent can leave films behind. That residue can interfere with loft and, for some technical shells or treated fills, the way the material handles moisture. Choose a cleaner the bag maker recommends. If the maker provides no specific brand, look for a technical wash clearly labeled for down or synthetic insulated gear as appropriate. NEMO’s sleeping-bag care instructions similarly recommend a technical fabric wash, a gentle cycle, and extra rinsing rather than treating the bag like a load of everyday clothing.
There is one important practical point: do not mix cleaners, boosters, scent beads, softener, bleach, or stain-treatment products into the load because they sound helpful. The bag’s label is the source of truth. When a stain needs special treatment, spot test a hidden area or ask the maker rather than improvising with a strong household chemical.
When should you wash a sleeping bag instead of spot cleaning it?
Spot cleaning is the lower-wear option for a small dirty area. It is often enough for the hood, collar, face area, or footbox, where skin oils and dirt build up first. A full wash makes sense when grime is widespread, odor remains after airing, the bag is visibly soiled, or the fill is no longer lofting normally after it has had time to dry. A bag that comes home damp from a trip needs to be aired out before you decide it is permanently flat; moisture can make insulation feel compressed temporarily.
Start with a simple inspection. Lay the bag out in good light, unzip it, and check the shell, lining, seams, baffles, drawcords, and zipper. Note tears, loose stitching, leaking down, abrasion, sticky spots, and areas where the insulation has migrated. A small shell tear is easier to repair before washing than after water has increased the bag’s weight. A zipper that already catches should be handled gently and completely unzipped before a wash, rather than forced closed.
Choose spot cleaning when:
- Dirt is limited to the collar, hood, lining, or a small patch of shell fabric.
- The bag otherwise smells fresh and lofts evenly.
- The care label is missing and you do not yet have the maker’s instructions.
- The bag has a repair that needs attention before immersion.
Choose a full wash when:
- Oils, dust, or camp grime cover more than a small area.
- The bag smells after it has been aired out completely.
- The fill feels persistently clumped or its loft has not returned after proper drying.
- The bag is being prepared for long-term storage and the label permits washing.
Do not treat a calendar as a washing schedule. Frequent full washes create wear, even when done correctly. The condition of the bag, the manufacturer’s directions, and how it has been used should decide the timing.
How do you spot clean a sleeping bag safely?
Spot cleaning begins with the same label check as a full wash. Use only the type of cleaner the bag maker allows. Mix a small amount with water rather than pouring product directly onto the shell. Use a clean soft cloth or a very soft brush, work gently on the affected area, and wipe or rinse the area according to the product and care-label directions.
Try to hold the shell or lining away from the insulation when working on a small spot. That helps keep the fill dry while you clean the surface. Do not scrub hard enough to roughen lightweight fabric, push soil deeper into a seam, or soak the insulation. Once the area is clean, remove cleaner residue with a damp cloth, blot with a towel, and let the spot dry fully before packing the bag.
Spot cleaning is particularly useful before a trip. It can address a collar mark or a small spill without starting a multi-hour laundry project. It is also a sensible first response to a minor stain when you are uncertain about a full wash. When the stain is oily, deeply set, or on a specialty shell, pause and consult the manufacturer rather than escalating to bleach, solvent, or a harsh stain remover.
What should you do before machine washing a sleeping bag?
Preparation prevents most avoidable problems. First, identify the insulation and reread the label. Then empty every pocket and shake out sand, leaves, and loose debris. Close hook-and-loop tabs if the maker directs it, but unzip the main zipper fully unless the label says otherwise. An open bag lets water and rinse water move more evenly and reduces stress on the slider.
Inspect the washer. Remove leftover detergent, bleach, or softener from dispensers if possible, and make sure the drum is clean. Do not wash the bag with jeans, towels, shoes, or objects with hooks and zippers that could snag its fabric. The bag should be the only substantial item in the load unless its manufacturer instructs otherwise. The point is not to fill the machine; it is to leave enough room for the bag to circulate.
Gather these supplies before you start:
- The bag’s care label or manufacturer care page.
- The correct technical cleaner in the measured amount stated on its label.
- A clean towel for supporting the wet bag after washing.
- Two or three clean dryer balls or tennis balls if the manufacturer permits them, especially for down.
- Enough uninterrupted time for repeated low-heat drying cycles and a final dryness check.
Avoid fabric softener, bleach, dry-cleaning solvents, and high heat unless the maker expressly says otherwise. In its FAQ, Marmot advises a delicate cycle, low heat, a cleaner free of dyes and perfumes or a sleeping-bag wash, and more drying if clumps remain. That is useful general guidance, but the particular bag’s label still comes first.
How do you machine wash a sleeping bag step by step?
Step 1: Choose the machine and cycle
Use a front-loading washer or a top-loader without a center agitator only when the label allows machine washing. Select the temperature and gentle or delicate cycle named by the manufacturer. Cold or lukewarm water is often recommended, but do not guess when the care instructions say something different. A commercial-size front-loader can be a reasonable option for a bulky bag because it gives the bag more room to circulate; this is a general equipment consideration, not a claim about any particular laundromat’s machines.
Step 2: Add the correct cleaner sparingly
Add the recommended technical wash in the amount on the product label. More soap does not mean a cleaner bag. It means more residue to rinse out. Down wash and synthetic technical wash products are formulated for different materials, so select the one the bag maker or cleaner instructions specify. Skip fragrances, boosters, scent beads, softener, and bleach.
Step 3: Load the bag carefully
Place the fully unzipped bag in the empty drum without forcing it into a tight ball. Do not wrap it around an agitator. Let the washer fill and run the gentle cycle. If the machine becomes unbalanced, stop and redistribute the bag rather than letting an aggressive spin continue. The shell fabric and baffles are light, but the wet insulation adds weight; treat the load with care.
Step 4: Rinse until cleaner residue is gone
An extra rinse is not an optional detail. The aim is to remove cleaning product from both the shell and the fill. Follow the label first; if it allows extra rinsing, run one or more rinse cycles until there is no obvious suds or slippery residue. NEMO recommends a two-rinse option for a gentle cold-water wash in an oversized front-loading machine, while REI and Marmot also emphasize multiple rinses in their care advice. Residue can reduce loft and make a freshly washed bag behave as though it is still dirty.
Step 5: Remove the wet bag with full support
When the cycle ends, do not grab one end and lift. Slide both arms underneath the bag, support its weight across your forearms or a clean towel, and move it to the dryer. Wet insulation can be dense and the shell is not designed to carry the whole load from one small point. Do not wring or twist the bag. If it feels waterlogged after the rinse, follow the label or run the allowed extra spin or rinse rather than trying to squeeze it aggressively by hand.
How do you hand wash a sleeping bag when a machine is not suitable?
Hand washing is a practical fallback only when the manufacturer permits it and you can rinse and dry the bag completely. It is slower than machine washing, and it still puts the insulation through water, so it is not automatically gentler. The advantage is control: you can avoid a questionable machine and handle the fabric without an agitator.
Choose a clean bathtub or a large, smooth basin. Rinse it first so that there is no cleaning residue, hair, grit, or product left behind. Fill it with the temperature of water specified on the care label. Add the appropriate cleaner in the recommended amount, mix it into the water, then lower the bag in. Press it under the surface gently and work the water through the bag with open hands. Avoid twisting, pulling, or scrubbing the fill.
Let the bag soak only as long as the label or cleaner calls for. Gently work on noticeably dirty zones with your hands, then drain the wash water. Press water out against the tub floor or side with flat hands. Do not wring the bag like a towel. Refill with clean rinse water and repeat until the water is free of cleaner residue. This may require more than one rinse; a light, thorough approach is better than assuming one rinse is enough.
The hard part is moving the wet bag. Gather it from underneath, with the weight supported across both forearms, rather than allowing one corner to carry the load. If you cannot move it safely to a dryer without pulling on the shell or seams, pause and reconsider the plan. A full, damp bag is heavy. It needs a drying method that lets it open up, tumble gently, and dry all the way through.
How should you dry a sleeping bag without damaging it?
Drying is where patience protects the bag. The outer fabric can feel dry long before the insulation has released moisture. If the fill is put away while damp, it can clump, smell musty, or develop mildew. If it is exposed to high heat, lightweight shell fabric and synthetic fibers can be damaged. The reliable default is low heat, frequent checks, and as many cycles as the bag needs.
Begin with the dryer setting on the care label. If the label permits tumbling, use low heat. Stop regularly to feel the bag, redistribute any clumps, and check that the shell is not getting hot. Down bags may take several hours. Synthetic bags often dry sooner, but their timing depends on the bag, the dryer, humidity, and how much water the spin cycle removed. Do not set a high temperature just because drying feels slow.
Clean dryer balls or clean tennis balls can help separate wet down clusters when the maker permits them. They are not a substitute for time; they simply give the fill gentle movement. Do not use a ball that could transfer dye, fragrance, dirt, or residue. If balls are not approved or not available, pause the dryer occasionally and gently break up clumps through the shell with clean hands.
For air drying, follow the maker’s directions. A bag may be laid flat on a clean dry surface with good airflow or supported in a way that does not concentrate its weight at one point. Air drying can take much longer, particularly in humid weather. Avoid direct, prolonged sun on delicate fabric unless the manufacturer specifically advises it. Do not hang a water-heavy bag by one corner, a zipper, or a narrow loop. That can strain seams.
How do you know a sleeping bag is fully dry?
Use more than a quick touch of the shell. Open the bag, feel through the hood, shoulder area, torso, footbox, and baffles, and compare the temperature and texture across the fill. Damp insulation can feel cool, dense, or clumped. A dry bag should feel evenly lofty, without cold patches or obvious balls of wet down. When in doubt, give it more low-heat drying time or leave it open in a dry, ventilated room overnight after the dryer cycle.
The last dryness check matters most before storage. It is easy to be fooled by an outer shell that feels dry. Taking an extra hour now is preferable to discovering moisture after the bag has been compressed in a closed sack.
What laundry mistakes can permanently reduce a sleeping bag’s performance?
The common mistakes are less about a single dramatic accident and more about shortcuts that create residue, heat damage, or compression. Avoiding them is part of the cleaning process.
Using a machine with a center agitator
A tall central agitator can catch, twist, or strain a bag as it moves through a wash. A large front-loader or a top-loader without that agitator is the safer general design when the care label allows machine washing. Do not try to make a problematic washer acceptable by tying the bag up or adding extra items.
Using regular detergent, softener, bleach, or dry-cleaning solvent
Laundry products are not interchangeable. Standard detergent may leave residue, fabric softener can coat fibers, bleach can harm delicate materials, and dry-cleaning solvents may affect down’s natural oils or the bag’s materials. Use the cleaner the maker calls for, keep it measured, and rinse it out thoroughly. If you are unsure whether a product is appropriate, do not use it until you have checked the manufacturer’s care information.
Applying high heat to hurry the dryer
High heat is tempting because a wet bag takes time. It is also the shortcut most likely to harm lightweight nylon, shell coatings, and synthetic fill. Use low heat and plan for more time. Frequent checks give you better information than turning the temperature up.
Storing the bag while it is damp or tightly compressed
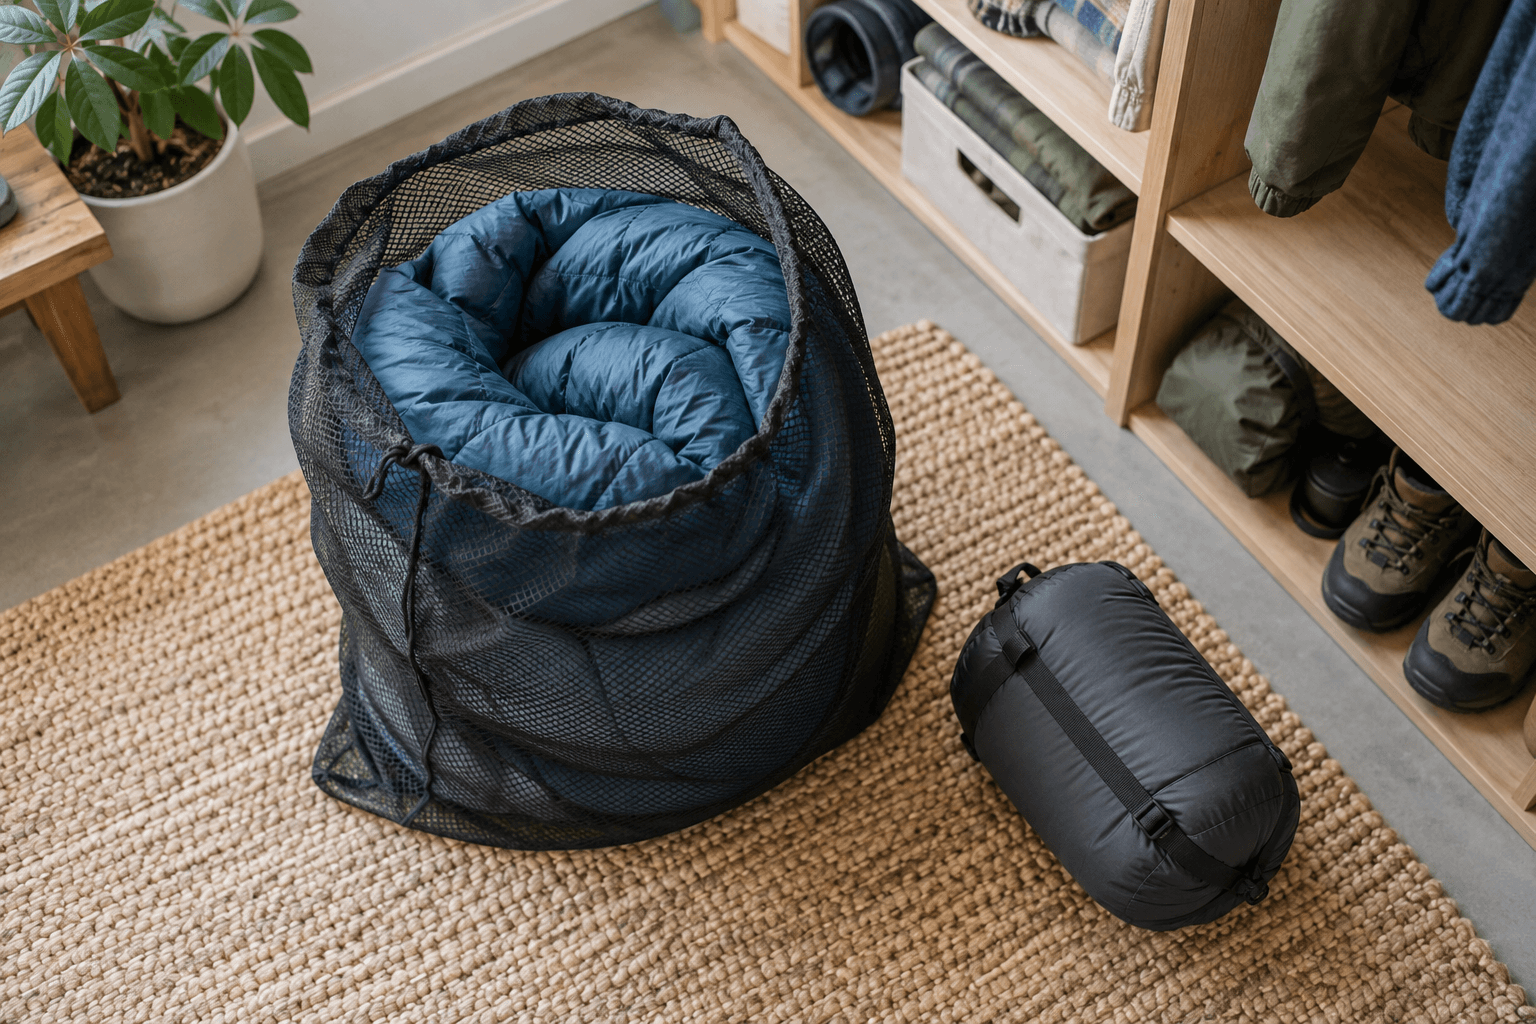
The small stuff sack that makes a sleeping bag easy to carry is not usually the right place for months of storage. Long-term compression can reduce loft, while trapped moisture can create odor or mildew. Let the bag dry completely, then store it loosely in the larger breathable storage sack provided by the manufacturer, a clean mesh sack, or another method the manufacturer approves.
Treating a tear or broken zipper as a laundry detail
Water and a tumble dryer do not repair damage. A small shell tear can become a larger opening, and a compromised baffle can let insulation migrate. Address a repair first if the bag is leaking fill, has a broken zipper, or has an opening that can worsen when wet. When repair needs exceed a small, maker-approved field fix, use a qualified gear-repair service.
How should you store a sleeping bag between trips?
Correct storage begins only after the bag is truly dry. Unzip it and allow it to air out after a trip, especially one with rain, condensation, or humid weather. Look and feel for damp patches before you pack it away. If the bag has been washed, give it an additional dry check after it leaves the dryer; trapped moisture in insulation is easier to detect after the bag has rested open for a while.
For long-term storage, the usual goal is to let the insulation expand. Use the original large storage sack if it came with one, a large breathable mesh or cotton sack, or a manufacturer-approved hanging method. The travel stuff sack is for transport, not months in a closet. A sealed waterproof sack is excellent for keeping a bag dry in a pack, but it is not a good default for a bag that might retain even a little moisture after a trip.
Keep the bag in a cool, dry, clean space away from pests and prolonged direct sunlight. Avoid storing it under a heavy box, in a damp basement corner, or compressed under other gear. Check it occasionally over a long off-season. If it smells musty or feels unusually flat, air it out and inspect it before the next trip.
How can you keep a sleeping bag cleaner between washes?
The easiest wash is the one you do not need yet. Simple camp habits reduce the amount of oil, dirt, food odor, and moisture that reaches the lining and insulation.
- Change into clean sleep layers rather than climbing in with dusty hiking clothes.
- Let the bag air out after a damp night when conditions allow.
- Use a sleeping-bag liner if it suits your camping style; wash the liner more often than the bag.
- Keep the bag off wet or dirty ground while packing and unpacking.
- Shake out loose debris before you put it into its stuff sack.
- Treat zippers patiently. Back fabric out of a catch rather than pulling harder.
- Do not stand or jump in the bag, which can strain the footbox and insulation.
These habits are not a replacement for eventual cleaning. They simply reduce the need for frequent full washes and make it easier to maintain even loft.
Should you use a laundromat to wash a sleeping bag?
A larger front-loading washer and dryer can be helpful for a bulky sleeping bag because the bag has more room to circulate and tumble. That is why many outdoor-care sources mention commercial-size machines. The decision is still about the bag’s instructions and the actual machine in front of you, not a blanket rule that every bag needs a laundromat.
Before bringing a bag to any laundry facility, verify that its label permits machine washing and low-heat tumble drying. Bring the correct technical cleaner, inspect the drum for sharp or dirty objects, and choose a machine without a center agitator. Make time to stay through the complete drying process. Do not assume that a wash-and-fold service handles technical sleeping bags, down, or specialty cleaning unless that service specifically confirms it.
For local laundry needs beyond this specialty item, explore Fresh Spin’s self-serve laundry information or contact Fresh Spin to ask a specific question before making a trip. This guide does not represent that every sleeping bag or all specialty gear is appropriate for a particular machine or service.
When should you stop and use professional cleaning or repair instead?
DIY washing is not mandatory. Stop and seek maker support, a specialty cleaner, or a repair service when the bag has a serious tear, failing seams, a broken zipper, unknown fill, a missing label combined with an expensive construction, persistent odor after a full correct dry, mildew, significant down leakage, or a warranty condition you cannot verify. Professional help is also reasonable when you do not have a safe way to dry the bag completely.
Some decisions are not about skill; they are about risk. A highly technical or sentimental bag can be more expensive to replace than to have cleaned or repaired properly. Document the condition with photographs, contact the manufacturer, and ask whether they recommend a particular service. Do not use an untested chemical or an aggressive wash cycle as a substitute for information.
A practical decision path before you wash
Use this short decision path to turn the guide into an action plan:
- Read the label. If it says do not machine wash or dry, follow that direction and check the manufacturer’s care page.
- Inspect for damage. Repair or get advice on tears, leaking fill, or zipper issues before washing.
- Decide whether spot cleaning is enough. If the problem is localized, clean only that area when allowed.
- Identify the insulation. Choose a down-safe or synthetic-safe cleaner only as the maker instructs.
- Choose the machine. Use a roomy front-loader or an agitator-free top-loader if machine washing is allowed.
- Use a gentle cycle and thorough rinsing. Cleaner residue is a problem, not proof of cleanliness.
- Support the wet bag. Do not lift it by one end, twist it, or wring it.
- Dry low and slow. Check for clumps and cool damp patches; repeat low-heat cycles as needed.
- Store loose and dry. Use the compression sack for travel, not for long-term storage.
Frequently asked questions about washing a sleeping bag
Can you wash a down sleeping bag with regular detergent?
Do not assume regular detergent is acceptable. Down bags commonly call for a down-specific or technical cleaner because residue can interfere with loft. Read the care label and follow the bag maker’s instructions. Use the measured amount of the approved cleaner and rinse thoroughly.
Can you wash a sleeping bag in a top-loading washer?
Only when the manufacturer’s instructions allow it and the washer does not have a center agitator. A top-loader with an agitator can twist and stress the bag. A front-loader is the common general recommendation because it provides gentle tumbling without that central column.
How many times should you rinse a sleeping bag?
Follow the label first. If it permits it, use extra rinsing until cleaning product residue is gone. Several outdoor-care sources recommend at least two rinses for many bags, but the maker’s directions for your specific model remain the deciding instruction.
Can you dry a sleeping bag on high heat?
High heat is generally a poor choice because it can damage delicate shell fabric, coatings, and synthetic insulation. Use the label’s dryer instructions; low heat and patience are common recommendations. Check the bag periodically rather than trying to speed the process with more heat.
Why is my sleeping bag still clumped after drying?
The insulation may still hold moisture, particularly if it is down. Continue low-heat drying if the care label permits it, gently separate clumps during checks, and make sure the bag is not being stored before it is completely dry. Persistent clumping after proper drying may justify manufacturer or professional advice.
Can you store a sleeping bag in its stuff sack?
Use the compact stuff sack for travel unless the manufacturer says otherwise. For long-term storage, a loose breathable storage sack or another maker-approved method gives insulation room to expand and lowers the risk of trapping moisture.
Does a sleeping bag need to be washed after every trip?
No. Full washing creates wear. Air the bag out, shake out debris, spot clean when appropriate, and reserve a full wash for grime, odor, loss of loft, or another need supported by the care label.
Leave A Comment