
How to Clean a Backpack: A Label-First Guide for School, Travel, and Hiking Packs
The safest way to clean most backpacks is to empty every pocket, check the maker’s care instructions, remove loose dirt, spot clean with a soft cloth or brush, and air dry completely. Do not assume a backpack can go in a washer or dryer: straps, coatings, foam, hardware, and adhesives can all need gentler care.
Backpacks collect a surprising mix of soil. A school bag picks up pencil dust, snack crumbs, ink marks, and the moisture from a water bottle that was not fully closed. A travel pack gathers airport-floor grit, makeup, sunscreen, and the residue of a long car ride. A hiking pack carries sweat, trail dust, sand, food crumbs, and fine grit in the zipper tracks. The bag can still look usable while its pockets hold dirt that rubs against fabric or makes a zipper harder to operate.
That does not mean every bag needs a deep wash. In fact, the best routine is usually the lightest one that solves the problem. A careful wipe may be enough after a spill. A targeted spot treatment may be enough for one dirty panel. A deeper hand wash is more reasonable when the interior, straps, or fabric are broadly soiled and the maker permits it. This guide explains how to choose among those options without treating a general laundry rule as a substitute for the bag’s label or manual.
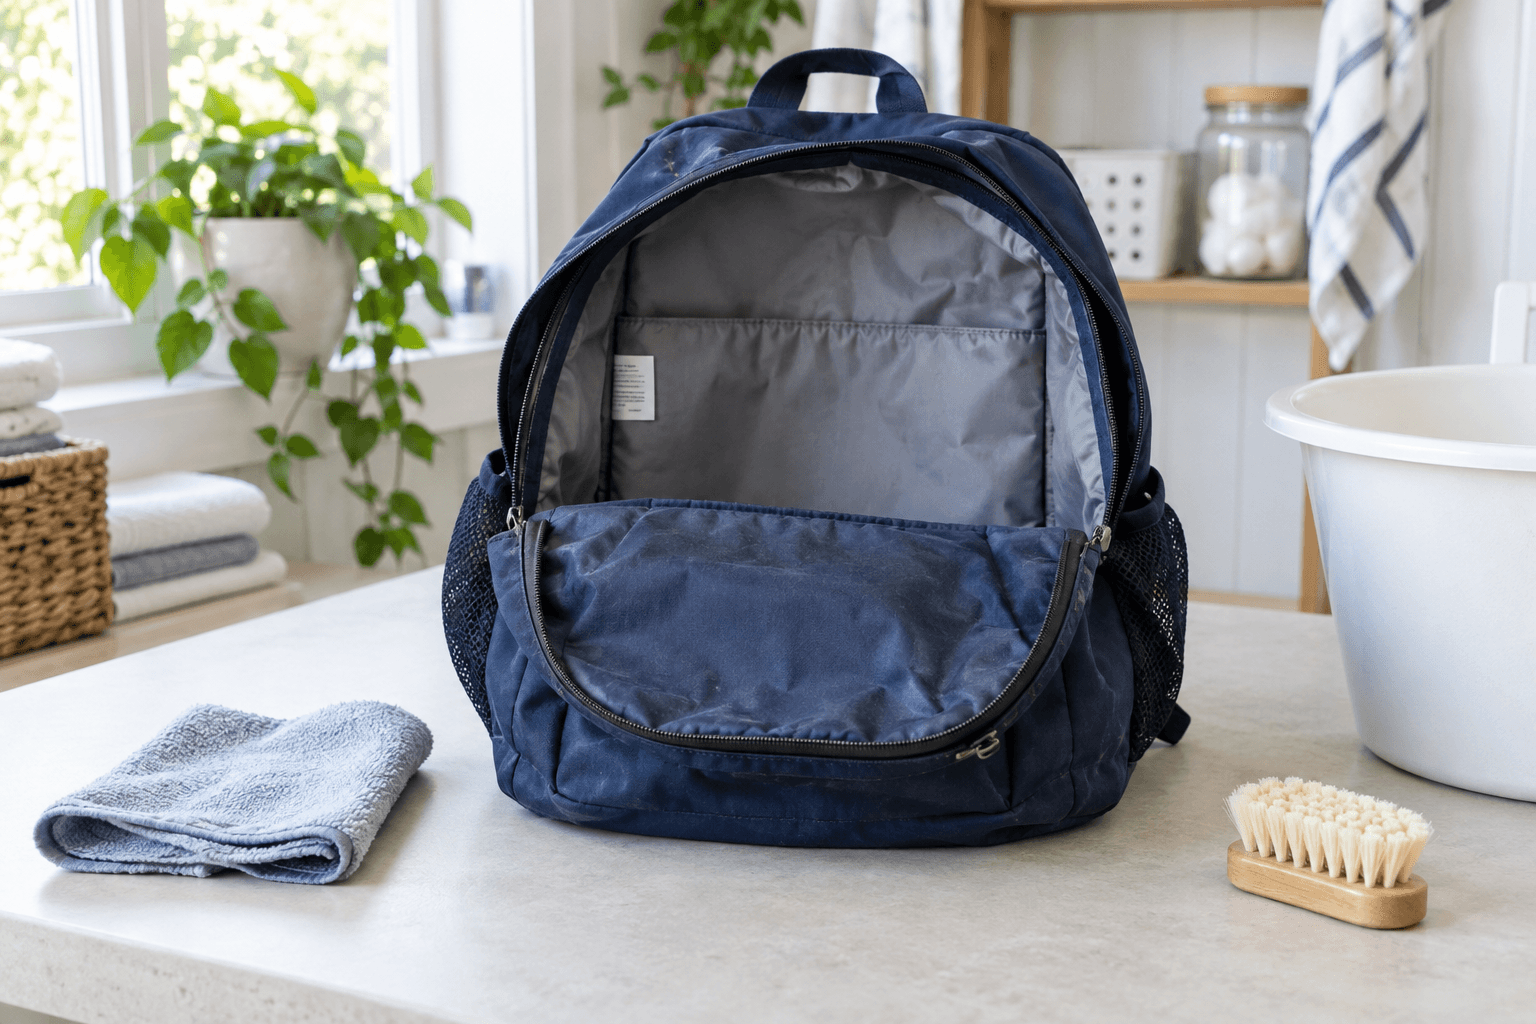
What should you check before cleaning a backpack?
Start with the bag itself, not with a washer setting. Find the sewn-in label, care card, product page, or owner manual. The material name alone is not enough to decide how to clean it. Two nylon bags can have different waterproof coatings, frames, foam panels, trims, printing, or adhesive-backed parts. A removable hip belt or internal frame changes the preparation. A bag with an integrated battery, light, tracker, USB port, or rigid insert needs an extra layer of caution.
The manufacturer’s instructions are the controlling source. General advice is a fallback when a label is missing or incomplete, not permission to override a warning. REI specifically notes that some pack makers allow submersion while others do not, and it advises readers to follow the manufacturer’s recommendations. Osprey’s pack-care guidance similarly applies to its own designs rather than every pack on the market.
Before you add water, answer five simple questions:
- Is there a care label or manual, and does it say hand wash, wipe clean, or something more specific?
- Does the bag have electronics, a power bank, a tracker, a built-in light, cardboard reinforcement, leather trim, or a removable frame?
- Is the problem isolated to one spot, or is the whole bag dirty inside and out?
- Can straps, inserts, or accessories be removed according to the manual?
- Do you have a place where the bag can stay open and air dry fully?
If a label says professional cleaning only, follow that direction. If an electronic component cannot be separated safely, use only the method the manufacturer specifies. If mildew, a persistent chemical smell, or visible material breakdown is involved, pause before soaking the bag. Cleaning may not solve a damaged coating, deteriorating foam, or contaminated item.
Why is machine washing usually a poor default for a backpack?
A washing machine is excellent for many textiles because the item can move freely in a controlled cycle. A backpack is a mixed construction object. It may include webbing, dense padding, buckles, zipper coatings, mesh, foam, frames, sewn-on patches, laminated panels, and water-repellent finishes. That combination is why the quick answer is usually hand cleaning unless the maker explicitly says a machine cycle is acceptable.
REI’s backpack-care guide advises against washing a pack in a washing machine or drying it in a dryer as a general rule. Agitation can twist straps, strain seams, scuff hardware, and push the bag into shapes it was not designed to take. Heat is a separate problem. It can affect coatings, warp plastic pieces, weaken adhesives, shrink some components, or set a stain that would have responded better to a gentle spot clean.
This is not a claim that every machine cycle ruins every bag. Some simple school bags may have different maker instructions. It is a decision rule for uncertainty: when you do not have model-specific permission, use the lower-risk method. Put the machine question to the label first. A label that allows machine washing should still control the water temperature, cycle, closures, detergent, and drying method.
The same reasoning applies at a laundromat. A larger machine may be useful for items whose care labels specifically allow machine washing and need room to move, but it does not turn an unapproved backpack into a machine-washable item. If you use a self-serve laundromat for care-label-approved laundry, bring the label instructions with you and choose the method that matches them.
What supplies do you need to clean a backpack by hand?
Keep the kit simple. The goal is to lift soil without grinding it into the fabric or leaving a film behind. REI recommends mild soap without fragrances or unnecessary additives, plus a clean sponge or washcloth and a soft nylon-bristled brush. A used soft toothbrush can work on small seams or zipper areas, but do not turn it into an abrasive scrubber.
Gather these items before you begin:
- A vacuum with a narrow nozzle, or a clean dry cloth for loose debris.
- A clean sponge or microfiber cloth.
- A soft nylon brush or a soft toothbrush for confined areas.
- Mild, additive-free soap or the product specified by the maker.
- A basin, sink, or tub only if the label permits the level of wet cleaning you plan to do.
- Clean lukewarm and cool water for wiping and rinsing.
- Dry towels for blotting and a drying rack, shower rod, or another supported place to air dry.
Avoid bleach, harsh solvents, aggressive stain removers, stiff brushes, and unapproved waterproofing products. They can leave a visible mark, alter color, or interfere with a coating. Also avoid using an excessive amount of soap. More soap means more rinsing, and residue can make fabric feel stiff or attract new soil. When you are unsure whether a cleaner is compatible with a finish or trim, test the least visible small area only if the maker’s instructions permit it.
How do you empty and prepare a backpack before cleaning?
Preparation is where many good cleanups are won or lost. Open every compartment, including flat document sleeves, side pockets, key clips, sunglasses pockets, and hidden security pockets. Remove loose items, then turn the bag upside down and gently shake out crumbs and dust. Use a vacuum nozzle carefully around seams and the bottom of the main compartment rather than pressing the nozzle against delicate mesh.
REI recommends removing crumbs, sand, and loose dirt from pockets and crevices before deeper cleaning. This step matters because wet grit can become abrasive. If you start scrubbing before removing it, you may rub fine particles against fabric, zipper tape, or a lining. Take out removable organizers, hydration reservoirs, frames, belts, rain covers, and straps only when the manual says they are designed to come out.
Look through the bag deliberately. Pens and mechanical pencils can leak. Gum, lip balm, snacks, and small batteries are easy to miss. A travel pack may have receipts or medication in a narrow pocket. A school backpack may have paper that transfers color when damp. A hiking bag may have a hydration hose, fuel residue, or a dirty repair kit. Separate items into a dry pile before you begin; do not set them on a wet work surface.
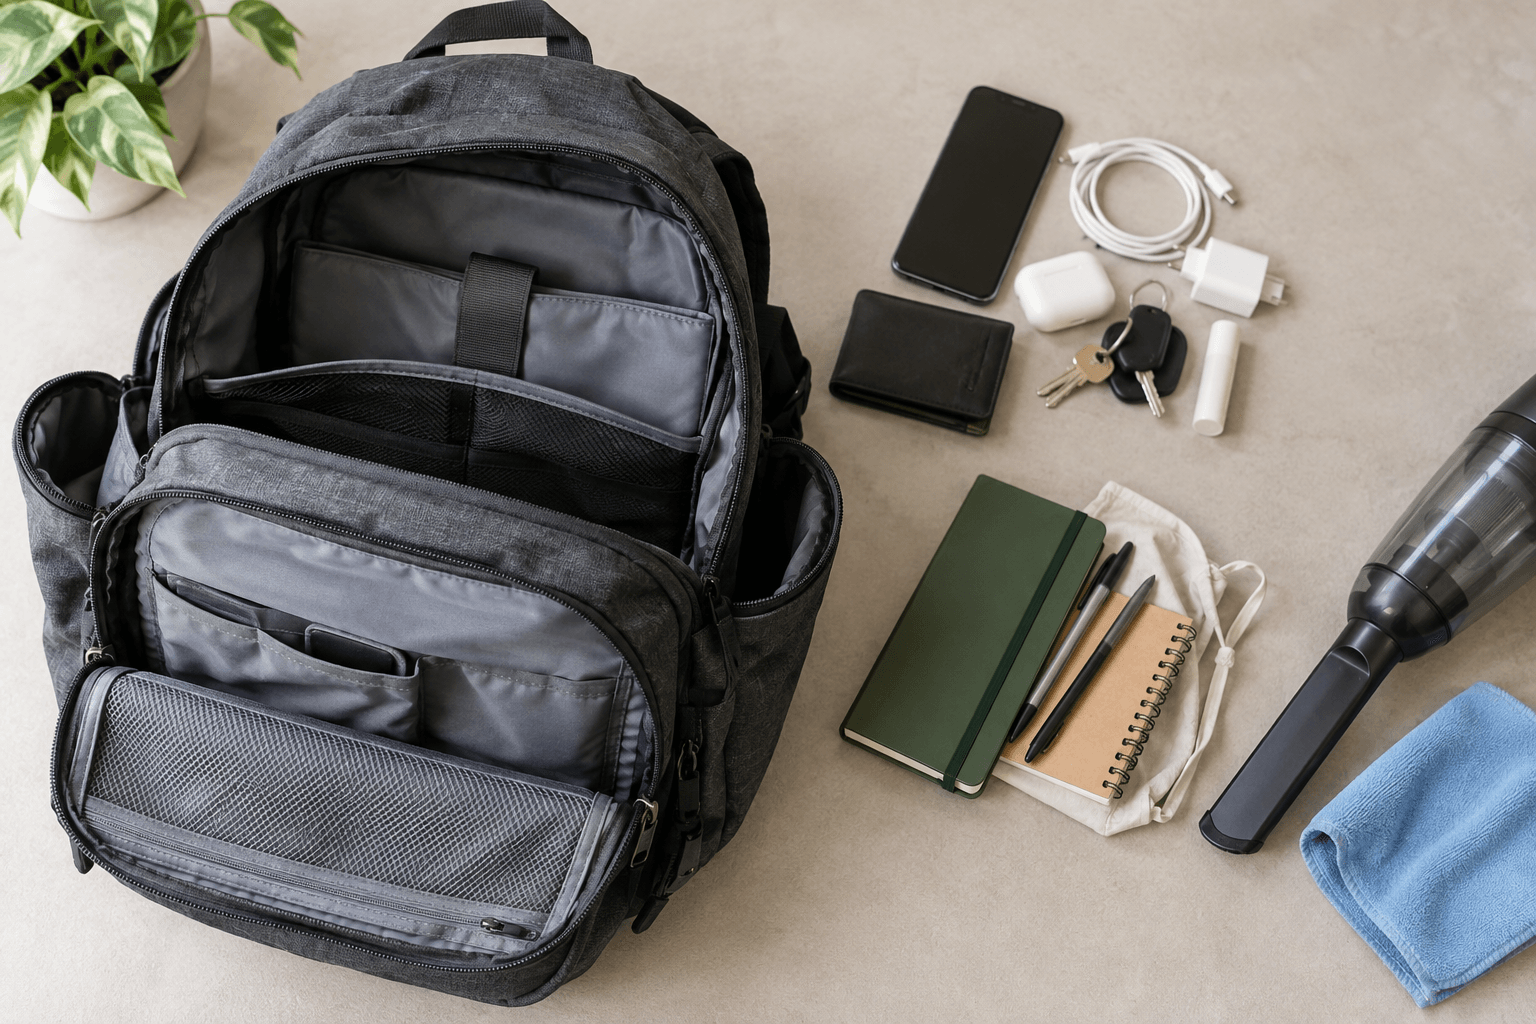
After emptying it, close loose buckles, loosen compression straps, and open the main zippers enough for access. Closing a buckle can keep it from repeatedly snapping around during handling. Loosening straps helps them dry evenly later. Do not force stuck zippers. Brush away visible grit first, and follow the maker’s guidance for any zipper lubricant. REI cautions that some zippers have water-resistant coatings, so strong scrubbing is not a good trade for a little surface dirt.
When is spot cleaning enough for a backpack?
Spot cleaning is the right starting point when the rest of the backpack is clean and the issue is limited. Common examples include a muddy corner, a food splash, a sunscreen mark near a shoulder strap, or a small spill on the lining. It reduces the amount of water and handling the bag receives, which is useful for bags with structured padding, coatings, or mixed materials.
First, blot rather than rub a fresh spill. Rubbing drives soil deeper and can spread a stain. Dampen a cloth or sponge with cool to lukewarm water and test a discreet area if the maker’s directions do not prohibit it. Put a small amount of approved mild soap on the cloth, not directly on the bag, then work from the outside of the spot toward its center. This helps contain the area.
Use a soft brush only where the soil needs help lifting. Keep the pressure low. The goal is repeated gentle passes, not one hard scrape. Wipe the area with a second clean damp cloth to remove soap, then blot with a dry towel. Leave the pocket or panel open until it is dry. If the mark is still visible, decide whether it is actually soil or a change in the fabric finish. Repeating stronger treatment without guidance can make the second problem worse than the first.
Do not promise yourself that every ink, oil, paint, dye, or adhesive mark has a home remedy. Those stains depend on the fabric, finish, age of the stain, and the product involved. A careful label-first process can preserve the bag even when it cannot make a stain disappear completely.
How do you hand wash a backpack when the maker permits it?
Use hand washing only after the label or manual makes it reasonable. Fill a clean sink, basin, or tub with the amount and temperature of water the maker allows. In the absence of a more specific instruction, REI’s general guidance uses lukewarm water and a mild, additive-free soap. Add only a small amount of cleaner. You want the water lightly soapy, not a thick foam that will be difficult to rinse out.
Place the bag in the water only if its instructions permit immersion. Move it gently through the water, supporting the body of the bag instead of pulling from one strap. Use a sponge to clean the interior and lightly work over the exterior. Give extra attention to the back panel, shoulder straps, hip belt, bottom, and places where hands or skin regularly contact the fabric. Use the soft brush sparingly on visible soil and be especially gentle on mesh pockets.
Do not use the cleaning time to bend a frame, yank on a zipper, or scrub decorative printing. If a panel is heavily soiled, make several mild passes with rinse water between them. Slow cleaning is safer than escalating pressure. Keep accessories separate and clean only the ones the manual identifies as removable and washable.
Drain the soapy water and refill with clean water. Rinse the bag thoroughly, moving water through the inside pockets and folds. REI advises rinsing again if needed to remove soap residue. The rinse matters because leftover cleaner can leave a film and may attract more dirt later. If you can still feel slickness or see suds in a seam, rinse again instead of trying to blot the problem away.
When lifting the wet bag, support the body with both hands. Water adds weight, and lifting by a shoulder strap puts stress on the construction. Let excess water drain naturally. Do not twist, wring, or aggressively squeeze the bag. Pressing a towel against a panel is gentler than wringing it like a T-shirt.
How should you clean straps, padding, mesh, and zippers?
Different parts of a backpack need different pressure. Straps and hip belts collect sweat and skin oils, but they also contain foam and dense webbing that take longer to dry. Clean them with a damp cloth or sponge and a small amount of approved soap, then wipe again with clean water. Avoid saturating a padded part when a surface cleaning will solve the problem. If the manufacturer allows a deeper wash, give those areas extra drying time.
Mesh is easy to snag. Support it from behind with your hand while you wipe or brush lightly. Do not dig a brush into a mesh pocket to remove one stubborn speck. For an embedded crumb, use a vacuum nozzle or gentle tapping first. For a hydration-compatible pack, remove the reservoir and hose only under that system’s cleaning guidance; a backpack article should not override the reservoir maker’s instructions.
Zippers deserve patience. Start with dry debris removal. Fine sand and dust are common causes of sticky operation, and REI recommends occasional zipper cleaning to remove them. Use a soft brush around the teeth and tape, not a hard scraping tool. Never pull harder on a stuck slider just because the bag is wet or freshly cleaned. Let the area dry, inspect it, and use only a zipper treatment the manufacturer approves.
Plastic buckles and metal hardware can be wiped with a damp cloth. Rinse any salty residue with clean water when the bag has been used around saltwater, then dry the hardware. If stitching is frayed, a buckle is cracked, or a zipper tape is separating, cleaning will not repair the component. Treat cleaning and repair as different tasks.
How do you dry a backpack without causing new problems?
Air drying is part of the cleaning process, not an afterthought. Leave all main pockets open, open smaller compartments, loosen straps, and position the bag so air can reach the lining and the back panel. Use a dry towel underneath to catch drips. A rack, shower rod, or secure supported hanger can work when it does not distort the bag. The point is to let the bag hold a natural shape while water drains away from seams and pockets.
REI advises drying a backpack in the shade or indoors rather than direct sun because ultraviolet light can degrade fabric. It also advises against the dryer. Those rules are especially helpful for coated technical fabric, foam padding, and plastic hardware, but the label remains the authority for your specific bag. Choose a clean, ventilated location and allow more time than you think you need.
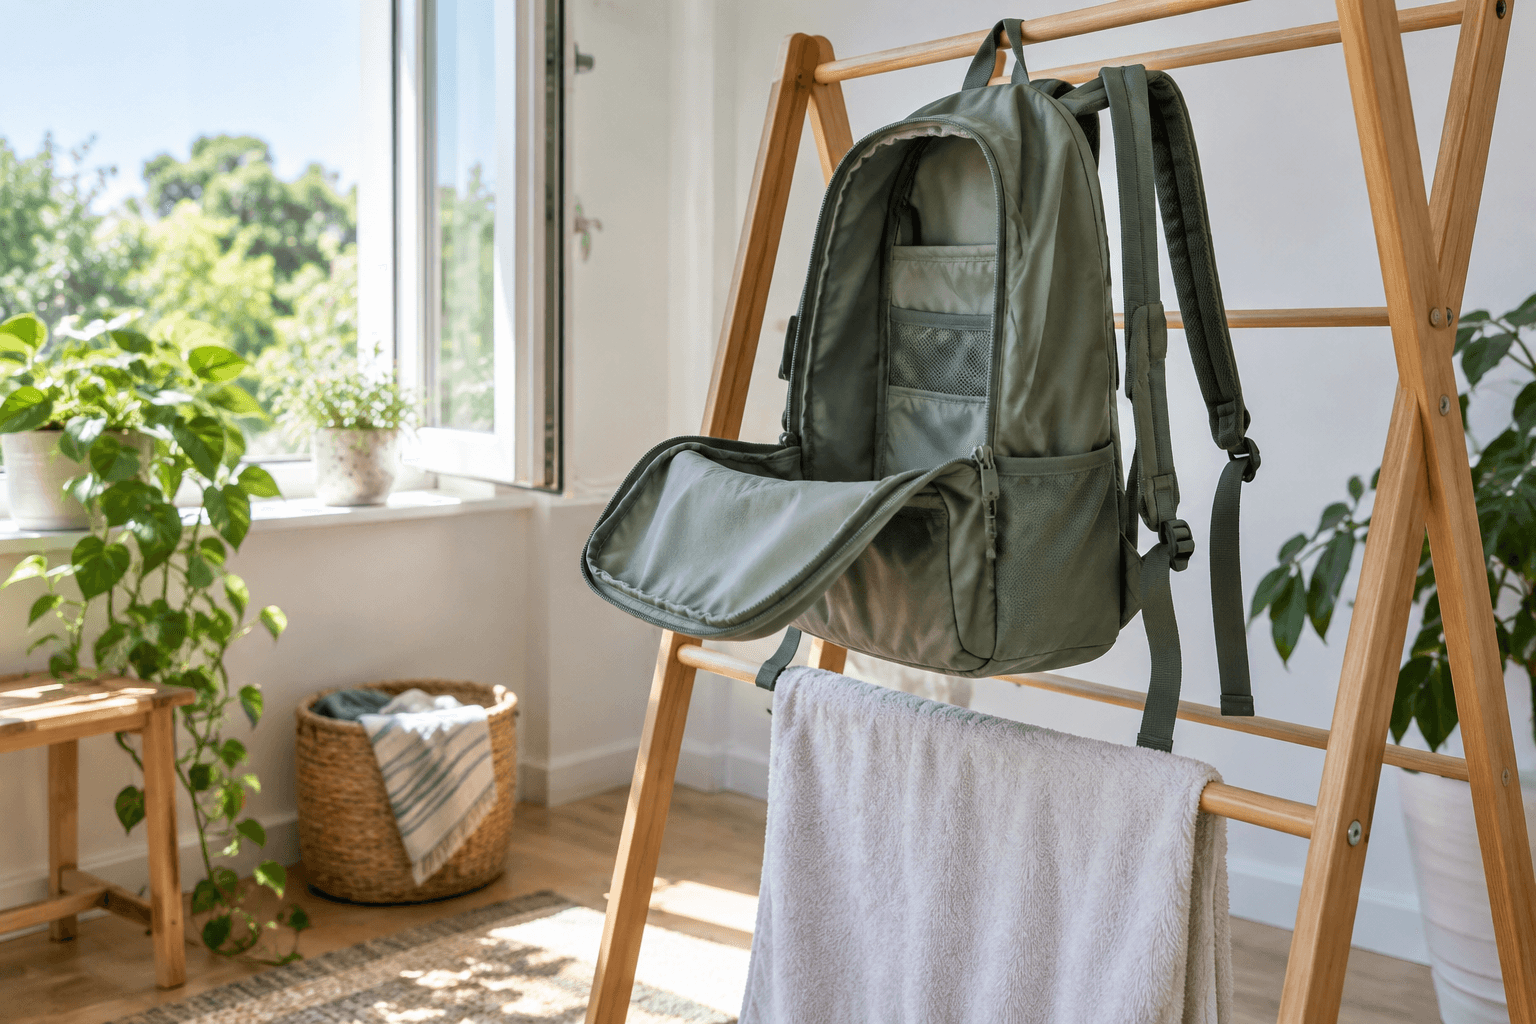
Check the bag before returning anything to it. Feel inside small pockets, under the back panel, behind padded areas, and along the bottom seam. If it feels cool, smells damp, or has trapped moisture in a corner, it needs more time. Packing a damp bag can lead to odor or mildew and can transfer moisture to books, clothing, electronics, or food. Do not speed up the process with a radiator, hair dryer, or direct sun unless the maker explicitly allows it.
What changes for a school backpack, travel bag, or hiking pack?
The basic process is consistent: label first, empty it fully, remove loose dirt, choose the lightest safe cleaning method, rinse carefully, and dry completely. The contents and construction change what you inspect.
For school backpacks, check for ink, glue, food, crayon, paper, and library materials. Empty small organizer pockets one at a time. A paper notebook that gets missed can turn a simple wipe-down into a messy pulp cleanup. If the bag has decorative patches, printed art, or sequins, avoid treating those parts as ordinary fabric. JanSport’s school-backpack guidance supports a careful empty-and-clean process; use the instructions specific to the product before deciding about water exposure.
For travel bags, inspect document sleeves, hidden compartments, cosmetics, chargers, batteries, locks, and removable packing cubes. Electronics must be removed before any cleaning. A hard-sided insert, luggage sleeve, or leather trim may have separate care directions. Clean only the exterior panel that needs attention when the interior is already clean; there is no benefit to soaking a whole travel bag for one scuff.
For hiking packs, pay attention to food crumbs, sand, sweat, sunscreen, mud, hydration components, and trail dust in zipper tracks. REI’s guidance highlights the value of vacuuming or shaking out debris before cleaning. Remove a frame or belt only if the manual says it is removable. Technical packs often have coatings and complex suspension systems, so a general hand-wash guide should stay secondary to the specific manual.
Which mistakes should you avoid when cleaning a backpack?
The most common mistake is treating a backpack like a load of clothes. It is more useful to think of it as gear assembled from several materials. That perspective changes the choices you make.
- Do not skip the care label because the bag "looks washable."
- Do not put a bag in a washer or dryer without specific maker permission.
- Do not clean a bag while a battery, electronic accessory, paper item, or hidden food remains inside.
- Do not scrub with a stiff brush, abrasive pad, or harsh cleaner.
- Do not use more soap than you can rinse away.
- Do not wring straps or twist the bag to force water out.
- Do not force a sticky zipper or buckle.
- Do not store the bag closed while any compartment remains damp.
There is also a planning mistake: deep cleaning when light maintenance would have worked. Emptying crumbs after a trip, wiping a spill promptly, letting a damp bag air out, and brushing dirt from zippers can reduce how often you need a complete wash. REI’s broader gear-care guidance makes the same practical point: dirt and sweat left in place can work against fabric and performance over time.
How can you keep a backpack cleaner between deep cleanings?
Small routines protect a backpack better than occasional aggressive cleaning. When you come home from school, travel, or a hike, take two minutes to empty food and trash. Leave damp gym clothes outside the bag rather than sealing them in a pocket. Open the main compartment after a wet day so air can circulate. Shake out sand before it migrates into zipper tape and seams.
For hiking and travel bags, use small pouches or washable organizers to contain snacks, pens, toiletries, and batteries. A leak inside a removable pouch is easier to solve than a leak in the bottom of a pack. For school bags, a weekly pocket check prevents forgotten fruit, sticky wrappers, and loose pen caps. This is not a promise that the bag will never need cleaning; it is a way to reduce the soil that makes cleaning harder.
When the bag does need attention, write down what caused the problem. Was it a leaking bottle? A snack pocket? A muddy trip? A sunscreen transfer? Knowing the cause makes the next routine more useful. Add a leakproof container, separate damp gear, or use a small trash pouch. Prevention is usually less risky than another deep wash.
When should you stop cleaning and seek product-specific help?
Stop when the problem moves beyond ordinary surface soil. Do not keep adding products to a bag with a damaged waterproof coating, crumbling foam, a cracked buckle, a broken zipper, a detached strap, a melted panel, or a strong chemical residue. These issues may require repair, manufacturer support, or replacement rather than more cleaning.
If a bag has been exposed to something hazardous, follow the product, workplace, or public-health guidance that applies to that material. This article is not a decontamination protocol. Likewise, a persistent mildew smell after complete drying can point to trapped moisture or damage that needs a closer inspection. More fragrance is not a solution, and sealing the bag in a closet only hides the underlying problem.
For normal uncertainty, the decision tree is simple: if the label is clear, follow it; if the label is missing, use a minimal dry or damp clean first; if the construction or contamination makes the risk unclear, get product-specific advice. This keeps a care guide from making a false universal promise.
How do you choose between a wipe-down, spot clean, and full hand wash?
Use the smallest response that matches the condition of the bag. A dry cleanup is appropriate when the issue is crumbs, dust, sand, or a little dry mud. Empty the bag, shake it out, vacuum crevices carefully, and brush zipper tracks gently. This is the lowest-risk option because it introduces no moisture into padding or seams.
Choose a damp wipe-down when a panel is dusty, a strap feels grimy, or a small fresh spill needs attention. Work with a clean cloth that is damp rather than dripping. A second cloth with plain water can remove any soap. This method is usually better than a full wash when only the surface needs help.
Choose spot cleaning when one contained stain remains after a wipe-down. Treat only the affected area with a small amount of the approved cleaner. Let the fabric dry between attempts so you can see whether the mark is soil, color loss, or a damaged finish. Do not keep expanding the wet area in search of a perfect result.
Consider a full hand wash only when the maker permits it and the bag is broadly dirty inside and out. Examples might include a hiking pack after a long season, a school bag with widespread food residue, or a travel bag that has been exposed to a dirty surface throughout. Full washing creates more drying work and more opportunity for water to remain inside padding, so it should solve a real need rather than become a routine reflex.
This approach also helps when time is limited. A careful ten-minute empty-and-wipe routine before storage is more useful than leaving a dirty bag sealed for weeks and then trying to rescue it with harsh products. It gives you a practical choice at each step: clean less when less is enough, and get more specific guidance when the construction or contamination demands it.
Frequently asked questions about cleaning backpacks
Can you wash a backpack in a washing machine?
Only if that exact backpack’s maker allows it. As a general rule, REI recommends avoiding machine washing because agitation can damage a backpack’s materials and construction. A label or manual that permits a machine cycle should dictate the water temperature, cycle, closures, detergent, and drying method.
Can you put a backpack in the dryer?
Do not use a dryer unless the manufacturer specifically permits it. General backpack-care guidance from REI advises air drying rather than tumble drying. Open the pockets, support the bag in a natural shape, and allow it to dry fully away from direct sun.
What soap is safe for a backpack?
Use the product the maker specifies. When no more specific direction is available, mild soap without fragrance or unnecessary additives is a conservative option supported by REI’s general backpack guidance. Use a small amount and rinse it completely.
How do you clean a backpack that smells?
Empty it, remove loose debris, identify the source, and follow the maker’s cleaning instructions. A damp gym item, food crumb, or spill may be the actual problem. Avoid masking odor with heavy fragrance before the bag is completely clean and dry.
Can you clean a backpack with leather trim or electronics?
Use the product-specific instructions. Remove electronics only when the maker says they are removable, and do not soak a bag with non-removable electronics. Leather trim, laminated panels, and structured inserts may need a different care method than nylon or polyester fabric.
How often should you clean a backpack?
Clean it when visible soil, a spill, odor, or accumulated debris calls for it, while doing light emptying and airing-out after regular use. There is no universal schedule because material, use, and maker instructions vary.
The practical takeaway
A clean backpack starts with restraint. Read the label, empty every pocket, remove dry grit, and use the mildest effective method. Spot clean when that is enough. Hand wash only when the bag’s instructions support it. Rinse carefully, never rush drying, and return contents only when the interior is fully dry. That process works for school, travel, and outdoor bags because it respects the difference between a washable fabric item and a constructed piece of gear.
For local laundry questions unrelated to a backpack’s maker instructions, review Fresh Spin’s FAQ or use the contact page. Fresh Spin offers in-store self-service and drop-off wash-dry-fold; this guide does not imply a pickup, delivery, or 24-hour service.
Leave A Comment