
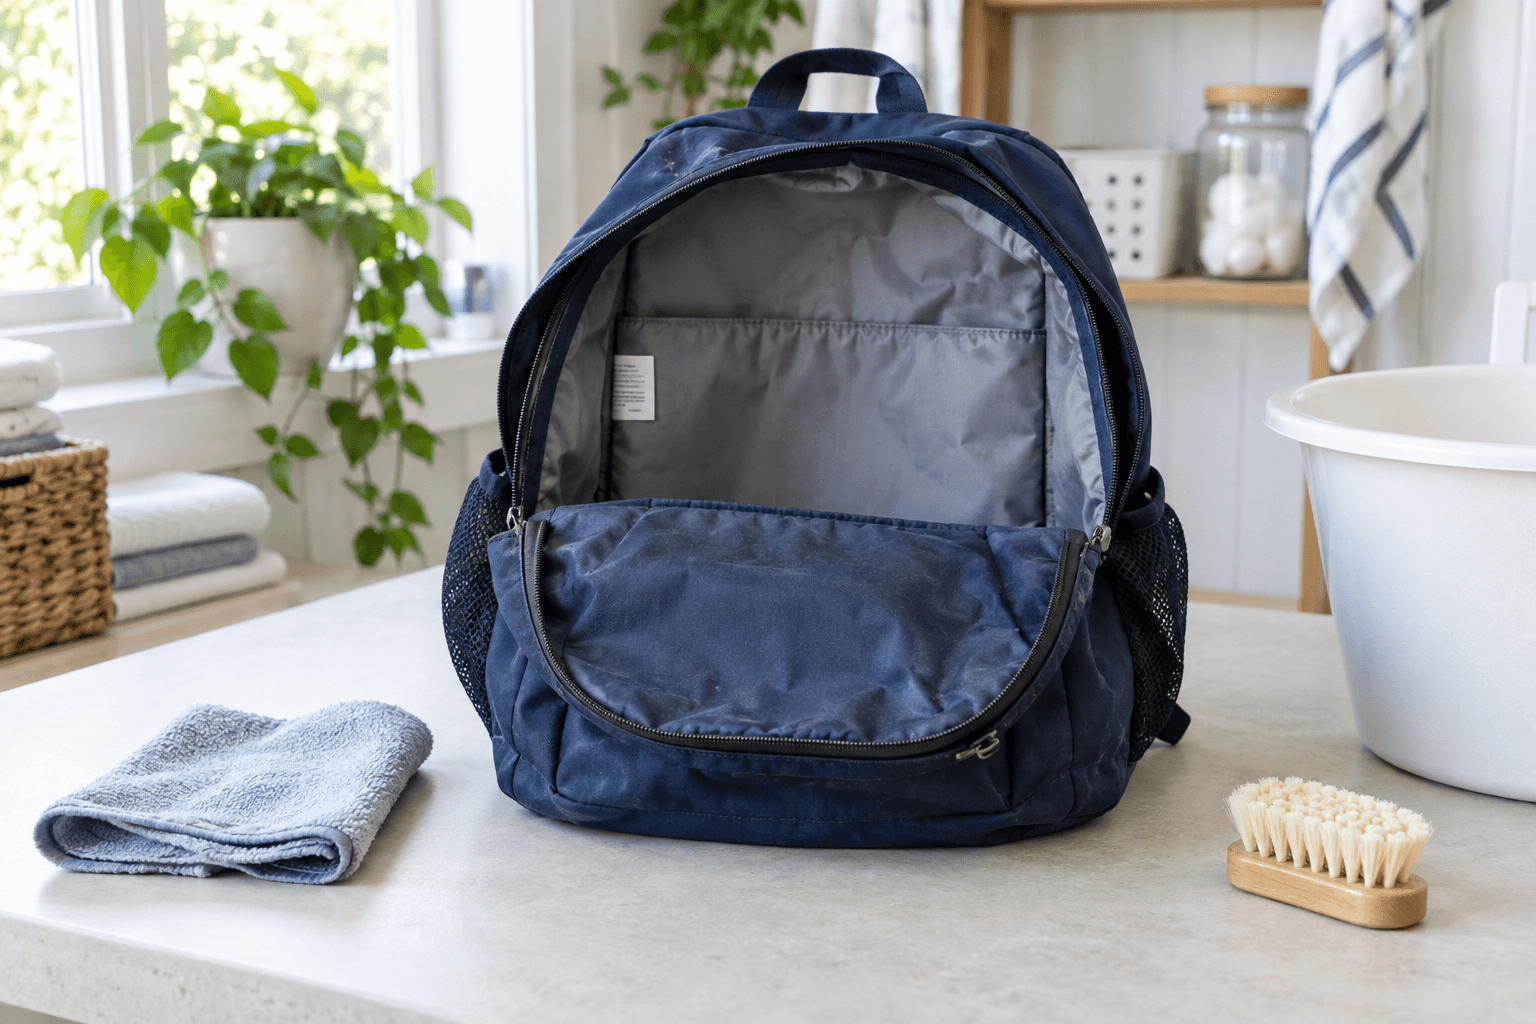
Quick answer: Clean a backpack by checking its care label and the maker’s instructions first, emptying every pocket, shaking out debris, and spot cleaning with the gentlest method the manufacturer permits. Do not assume a backpack can go in the washing machine. Major backpack makers give different instructions for different materials and constructions, and some specifically advise against machine washing, full submersion, or detergent. When in doubt, use a damp cloth, clean only the affected area, and let the bag air dry completely before packing it again.
How to Clean a Backpack Without Damaging It
A backpack carries more than books. It collects pencil shavings, snack crumbs, water-bottle drips, sand, makeup, gym clothes, receipts, and the occasional forgotten item in a zip pocket. Cleaning it sounds simple until the bag has padded straps, foam-backed panels, coated fabric, a laptop sleeve, a frame, leather trim, or a care label that says something different from the advice you found online.
The reliable approach is not a universal wash setting. It is a short decision process: identify the bag, read the label, remove everything, choose the least aggressive cleaning method that solves the problem, and dry it patiently. That protects the parts that make a backpack useful: seams, padding, zippers, coatings, buckles, and structure.
This guide is for ordinary school, work, travel, and day-use backpacks. It does not replace the instructions for your exact model. For example, JanSport’s cleaning guide advises against machine washing and focuses on a cool damp cloth. Osprey’s guide describes a careful hand-wash process for some packs while still advising against the washing machine. The North Face recommends spot cleaning backpacks with a damp cloth and air drying, rather than full submersion. Those differences are the reason the label comes first.
Start With the Care Label and the Bag’s Construction
Before reaching for soap, find the care label. It may be inside the main compartment, along a side seam, behind a padded panel, or on a removable accessory. If the label is gone, search the manufacturer’s product-care page using the model name or check the support materials that came with the bag. A generic fabric name is helpful, but the construction matters just as much. A nylon shell can be attached to foam, stiffeners, bonded seams, water-resistant coatings, or hardware that changes what is safe.
Take a minute to identify what you have:
- Simple fabric daypack: Often the easiest type to spot clean, but it can still have coated fabric or padded areas that should not be machine washed.
- Structured school or work bag: Laptop sleeves, organizers, reinforced bottoms, and shaped foam make rough washing and high heat risky.
- Outdoor or hiking pack: Suspension systems, hip belts, frames, hydration components, and technical coatings may require maker-specific steps.
- Leather, suede, waxed canvas, or mixed-material bag: Treat these as specialty-care items. Water and household cleaners can change their finish or cause staining.
- Vintage, sentimental, or damaged bag: Loose stitching, cracking faux leather, peeling coatings, or brittle plastic are reasons to use the mildest possible cleaning and consider professional advice for the material.
Do not confuse a sturdy-looking backpack with a washable one. A spin cycle, agitation, and heat can stress seams and padding even when the exterior fabric seems durable. If your label says spot clean only, treat that as a limit rather than a suggestion.
What to Gather Before You Clean
Most ordinary cleanup jobs need very little. Assemble supplies before you start so the bag does not sit wet while you search for a towel:
- A clean, light-colored microfiber cloth or soft lint-free cloth.
- Cool or lukewarm water, depending on the maker’s instructions.
- A soft brush only if the manufacturer permits it. A small soft-bristle brush can lift dry grit from seams, but stiff brushes can rough up fabric.
- A clean towel for blotting moisture.
- A vacuum with a small attachment, if you have one, for crumbs and grit.
- Any cleaner specifically allowed by the care label or manufacturer. Do not substitute bleach, solvents, or a strong stain remover simply because it works on clothing.
Avoid building a home chemistry experiment. Fragrance oils, disinfectant sprays, bleach, concentrated detergent, and all-purpose cleaners can leave residue, fade color, affect water-resistant coatings, or create a stronger problem than the original stain. JanSport specifically cautions against detergent and bleach in its care guidance. If you need a cleaning product beyond water and a cloth, check the product’s material compatibility and test a hidden area first.
Empty and Inspect Every Compartment
Emptying the bag is a cleaning step, not just tidying. Open every zipper, turn out small pockets, remove clips or pouches that are designed to detach, and take out loose inserts. Check for pens, cosmetics, gum, food wrappers, batteries, keys, and paper. A wet ink pen or forgotten snack can undo the work quickly.
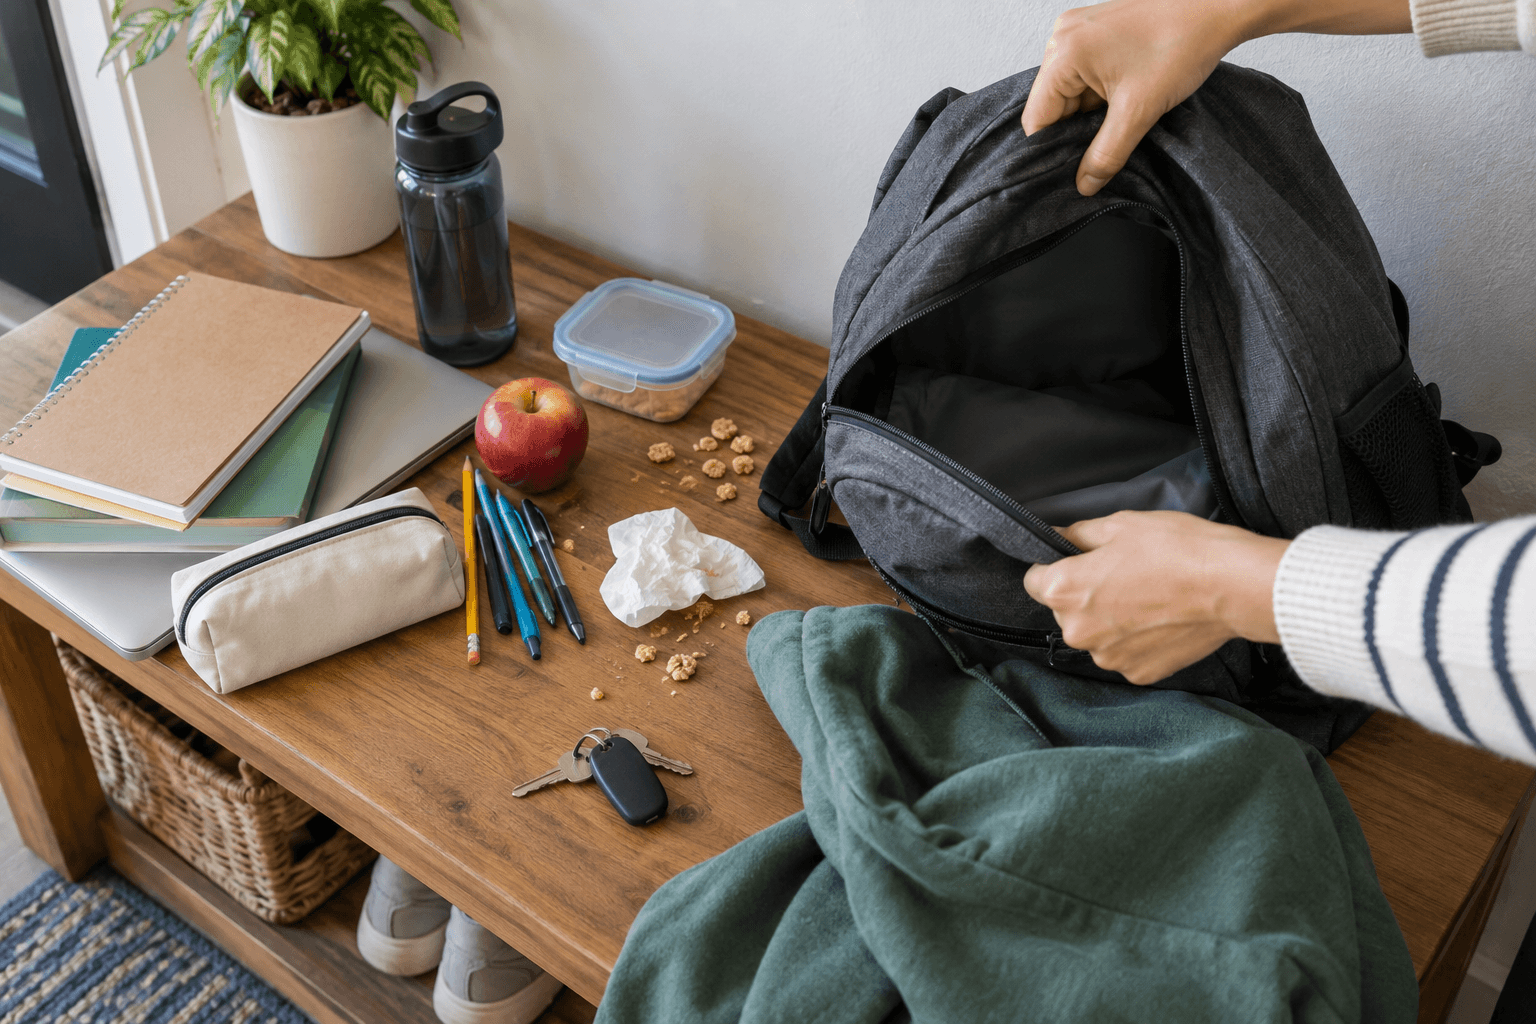
With the bag open, turn it upside down over a trash can or outdoors and give it a gentle shake. Do not yank on straps or snap the bag hard against a surface. Use a vacuum attachment or soft brush to remove dry grit from the bottom corners, zipper tracks, and mesh pockets. Dry debris is easier to remove before water turns it into a paste.
Then inspect the stain or mess. Identify whether it is surface dirt, a sticky spill, ink, food residue, salt marks, or an odor source. You do not need to diagnose every mark perfectly, but you should know whether there is an active problem that requires special handling. If something leaked from a battery, chemical container, or unknown substance, stop and follow the product’s safety guidance rather than treating it as an ordinary backpack-cleaning task.
Use the Least Aggressive Method First
For most routine dirt, start with spot cleaning. Dampen, do not soak, a clean cloth. Work from the outside of a stain toward the center with light pressure. Rinse the cloth as it picks up soil and keep going with clean sections rather than rubbing the dirt deeper into the fibers.
For a bag that only needs a refresh, this may be all you need: wipe the exterior, clean the handle and straps according to the label, remove dust from zippers and mesh, and leave the bag open to air dry. The North Face’s backpack-care guidance follows this conservative path: spot clean with a damp cloth, then air dry.
If the maker permits a mild cleaning solution, use the smallest practical amount on the cloth rather than pouring it directly onto the bag. Test a discreet area first, especially on bright colors, coated panels, and printed designs. Look for color transfer, darkening, stickiness, or a change in texture after the test area dries. If you see any of those, stop and move to plain-water cleaning or seek the manufacturer’s advice.
When Hand Washing Is Actually Allowed
Hand washing is not a universal upgrade from spot cleaning. It is only appropriate when your backpack’s instructions allow it. Osprey, for example, gives a hand-wash method for certain packs: remove detachable components where applicable, use mild soapy water in a tub or large sink, brush gently, rinse thoroughly, and hang dry away from direct sun. That is useful evidence that some bags can be hand washed, not proof that every bag can.
If your label or maker specifically permits hand washing, follow its water temperature and cleaning-product directions. In general, keep the process controlled:
- Remove detachable parts only if the manufacturer says they are removable.
- Empty the bag fully and clear away dry dirt first.
- Use a clean sink or tub. Do not clean the bag in a dirty basin where it can pick up residue.
- Use the approved amount of the approved cleaner. More cleaner does not mean a cleaner bag; it often means harder rinsing.
- Support the bag while cleaning instead of pulling hard on straps, sternum clips, or zipper pulls.
- Rinse as thoroughly as the manufacturer’s instructions require. Leftover soap can feel stiff and attract more dirt.
- Do not wring, twist, or squeeze the bag aggressively. Press excess water out with a towel where possible.
Why not just put it in a washing machine on delicate? Because delicate cycles still use prolonged water exposure and mechanical agitation. JanSport and Osprey both advise against machine washing their backpacks. Even a bag that survives one cycle may lose shape, develop damaged foam, have a zipper catch, or suffer coating wear later. The care label is the deciding evidence.
Clean the High-Contact Areas Carefully
Straps, handles, zipper pulls, and the back panel are usually the first areas to look worn because they are touched most often. Treat them with patience rather than force. Wipe padded straps with a damp cloth and blot afterward. Avoid saturating the foam, which can take much longer to dry. For mesh pockets, work gently so the mesh does not snag or stretch.
Zippers need dry debris removed more than they need lubricant. Brush or vacuum crumbs from zipper teeth and wipe around the tape with a barely damp cloth. Do not force a zipper that is stuck. First check for fabric, thread, or dirt caught in the teeth. If a zipper is bent, separated, or missing teeth, cleaning will not repair it and force can make it worse.
For the inside, wipe pockets and lining with a cloth that is only as damp as the manufacturer allows. Laptop sleeves deserve extra caution because of padding, seams, and electronics residue. Never clean a compartment while a device, charging cable, battery pack, or paper document is still inside. Let every pocket dry open before returning its contents.
Handle Stains and Odors Without Overpromising
A stain removal method for a cotton shirt is not automatically safe for a backpack. The bag may combine polyester or nylon with foam, dye, adhesives, metal hardware, and a finish designed to shed water. Start by following the maker’s stain guidance, if it provides any. If it does not, try plain water and a soft cloth on a hidden area before escalating to a product.
For a fresh food or drink spill, remove solids first, blot rather than scrub, and clean the affected area according to the label. For dried debris, loosen it gradually with a damp cloth rather than picking at the fabric with a sharp object. Ink, paint, oil, mold-like growth, and unknown residue can require material-specific guidance. There is no responsible one-line fix for every stain.
Odor is also a clue, not a cleaning instruction. If a bag smells because a wet towel, gym clothes, or food sat inside it, empty it, clean the source area if the label allows, and give it time to air dry fully. Covering the odor with fragrance can make the bag harder to use and does not remove moisture. If odor returns after thorough drying, inspect hidden pockets and seams for a missed source.
Air Drying Is Part of the Cleaning, Not an Afterthought
Dry the backpack open and in a well-ventilated space. Unzip every compartment, loosen straps, and position the bag so air can circulate around the lining and padded areas. A towel can help blot extra water, but do not pack the wet bag with towels or close it to speed things up. Trapped moisture is the problem you are trying to avoid.
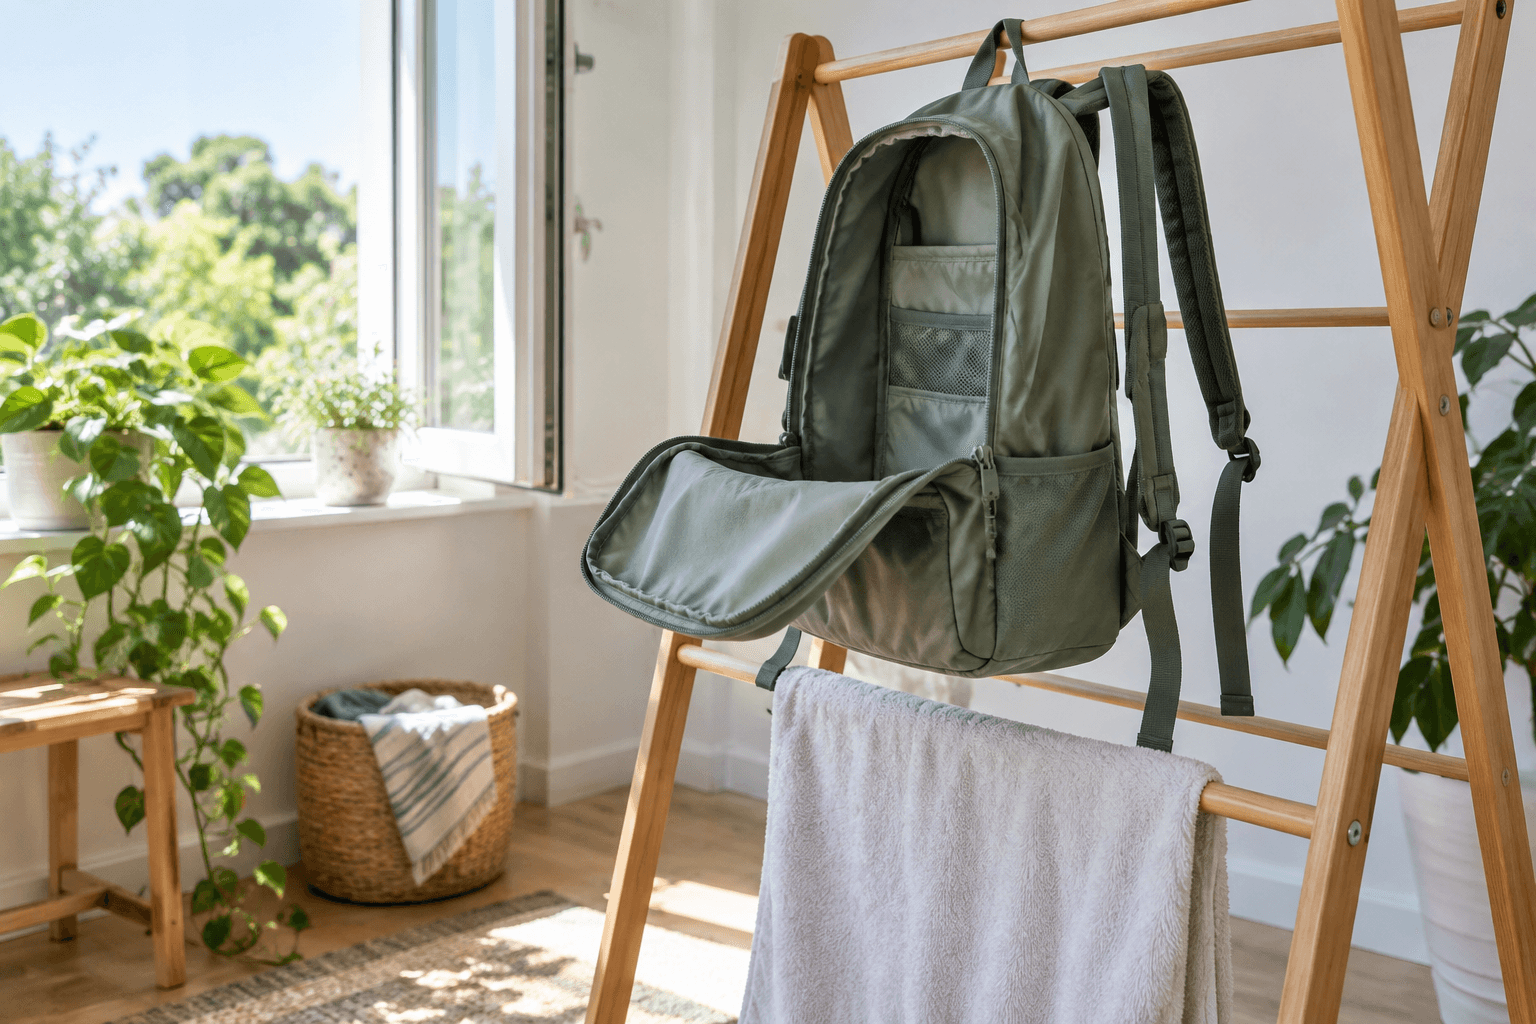
Use room-temperature airflow and patience. Direct, intense heat can harm coatings, foam, trim, and plastic hardware. Do not put a backpack in a dryer unless its own care label explicitly says that is safe; the manufacturers cited in this guide point toward air drying instead. Avoid direct sunlight for long periods as well when the maker cautions against it, because sunlight can fade or weaken some materials.
Before returning books, work gear, or electronics, feel the bottom corners, padded straps, zipper areas, and laptop sleeve. They should be dry, not cool or clammy. If a bag was washed more thoroughly, it may need more than a few hours. Rushing that last step can leave a damp interior against the next day’s belongings.
Choose a Method by Material, Not by Habit
Two backpacks can look similar from across a room and need very different care. A polyester school pack may tolerate a careful cloth cleaning well, while a travel pack with foam, laminated panels, a water-resistant coating, or leather accents may have tighter limits. A good cleaning plan begins by asking what the water and cleaner will touch, not by asking what worked for a different bag last year.
Fabric backpacks with padding
Most school and everyday bags combine woven synthetic fabric with padding in the back panel and straps. Surface dirt can often be addressed with the damp-cloth approach permitted by the maker. The practical concern is saturation. Water can work down into foam and seams, where it takes longer to dry. Use a cloth that is damp rather than dripping, work in small sections, and keep the bag open afterward.
If a strap feels stiff after cleaning, do not keep adding product. It may need a more thorough rinse if the manufacturer permitted a cleaning solution, or it may simply need more time to dry. Follow the product instructions rather than adding a fabric softener, fragrance, or oil. Those products can leave a coating on high-contact surfaces.
Water-resistant or coated backpacks
Some bags have a surface treatment intended to resist light moisture or dirt. Treat that finish as a reason to be conservative. Strong cleaners, rough brushing, prolonged soaking, and repeated heat can affect it. The fact that water beads on a new bag does not prove that every cleaner is safe or that the bag can be submerged. Use the care label and maker guidance for the exact model, and avoid trying to restore a coating with an unverified household product.
Leather, suede, faux leather, and trim
Leather and suede need their own product-specific care. Water can darken, stiffen, or leave a line on leather; suede can change texture; faux leather can crack or peel when it is scrubbed, soaked, or exposed to heat. If a backpack mixes fabric with leather trim, clean the fabric areas only as directed and protect the trim from unnecessary moisture. A specialty cleaner may be appropriate only when it is designed for that material and tested in a hidden spot.
Hiking, travel, and technical packs
Technical packs can include frames, hip belts, removable harness pieces, hydration parts, compression straps, and specialized coatings. Read the maker’s care page before removing anything. Osprey’s guidance, for example, calls for removing certain detachable components before the approved cleaning process. Do not force a component off because it looks removable. Keep track of hardware and follow the maker’s reassembly instructions if they are available.
A 10-Minute Pre-Clean Checklist
Use this short checklist before you introduce water. It reduces lost items and makes the actual cleaning faster:
- Photograph a stubborn stain: A quick photo helps you see whether the mark actually changes after cleaning and lets you compare it with the care guidance later.
- Read the label in full: Look for washing, bleach, drying, and cleaning-product restrictions. Do not rely on the first symbol you recognize.
- Unpack every space: Main compartment, front organizer, hidden pocket, bottle pockets, laptop sleeve, key clip, and removable pouch.
- Remove loose debris dry: Shake, vacuum, or brush before damp cleaning.
- Check for damage: Loose seams, cracked faux leather, peeling coating, damaged buckles, broken zipper teeth, or a wet electronics compartment may change the right next step.
- Separate the cleaning task from the laundry task: A bag’s care label governs the bag. Towels, washable school clothes, and other items have their own labels and can be handled separately.
- Choose a drying space first: Pick a ventilated location where the bag can stay open until it is completely dry.
That last point matters more than it seems. People sometimes begin cleaning on a busy evening, then close the bag early because it is in the way. Starting only when you have a place to dry it prevents a damp bag from becoming tomorrow’s problem.
Cleaning Scenarios and the Conservative Response
A backpack with snack crumbs and a small drink spot
Empty it, shake out crumbs, and use a vacuum attachment around seams if available. Blot the drink spot with a clean cloth as allowed by the label. If the stain is fresh, avoid scrubbing it wider. Let the compartment stay open while it dries. This is usually a spot-cleaning job, not a reason to submerge the whole bag.
A backpack that smells after carrying wet gym clothes
Remove the wet items and inspect all pockets for another source such as a forgotten food container. Wipe the lining only as permitted, then allow full airflow. Do not mask the smell with perfume or a heavily fragranced spray. If the maker permits a more thorough cleaning, follow that exact method; otherwise, repeated ventilation and careful spot cleaning may be the appropriate limit.
A muddy outdoor backpack
Let loose mud dry enough to remove it gently first. Wet mud spread around fabric creates more work. Once the dry soil is brushed away, follow the maker’s guidance for the remaining marks. Outdoor packs may have care instructions for frames, detachable parts, or coatings that differ from a school bag, so use the brand’s product-care information rather than a generic laundry routine.
A backpack with an ink mark
Do not assume rubbing alcohol, hairspray, or a household solvent is safe. Those methods can affect coatings, adhesives, prints, and synthetic materials. Check the maker’s care guidance, test any allowed product in a hidden area, and accept that some stains may not lift completely without risking larger cosmetic damage. Preserving the bag can be a better outcome than chasing a perfect-looking result with a harsh product.
A bag with a sticky zipper or damaged hardware
First remove visible debris from the zipper teeth and inspect for caught fabric. If the zipper remains difficult, do not pull harder. Cleaning removes dirt; it does not repair a bent slider, broken teeth, or a cracked buckle. A repair shop, manufacturer warranty channel, or replacement part may be more appropriate than another cleaning cycle.
After-Care: Put the Bag Back Into Service Safely
Once the backpack is dry, inspect it before repacking. Run each zipper slowly. Check that buckles close, straps adjust, and pockets are dry at the corners. Look for any cleaner residue, color transfer, or areas that are still damp. If a lining feels stiff or soapy after a manufacturer-approved wash, consult that maker’s rinsing guidance rather than adding another product.
Pack a simple reset kit if the bag is used daily: an empty snack pouch, a leak-resistant container, a small bag for damp gym items, and a reminder to remove food on Friday. That is not a claim that a backpack will stay spotless; it is a practical way to make the next cleaning easier. Small habits protect both the bag and the items inside it.
Common Mistakes That Damage Backpacks
- Skipping the label: The right method for one backpack can be the wrong method for another.
- Machine washing by default: Manufacturers may prohibit it because of agitation, shape loss, hardware, padding, and coatings.
- Using bleach or strong cleaners: These can fade fabric, affect finishes, and leave residue.
- Soaking padded sections: They can take a long time to dry and may not be designed for saturation.
- Putting the bag in a dryer: High heat can damage materials and hardware.
- Forcing zippers: Dirt may be removable; damaged teeth or a bent slider need a different solution.
- Cleaning around electronics: Empty the bag completely before introducing moisture.
- Closing the bag while it is damp: This traps moisture in lining, seams, and padding.
How Often Should You Clean a Backpack?
Clean based on use and visible need, not a rigid schedule. A daily school bag may need a quick shake-out and pocket check weekly, a spot clean after spills, and a more thorough label-approved refresh at the end of a term. A work bag may only need occasional wipe-downs if it stays indoors. An outdoor pack deserves inspection after muddy, salty, or dusty trips.
Small maintenance prevents the need for aggressive cleaning later. Empty food, wet clothes, and loose pens promptly. Let damp items dry outside the bag. Wipe a spill before it sets. These habits take less time than trying to reverse a deep stain months later.
When a Laundromat Fits Into a Backpack-Care Routine
A backpack itself should not be added to a self-service load unless its specific label and manufacturer say machine washing is allowed. This guide intentionally does not make a blanket recommendation to do so. A laundromat can still be useful for the items around the backpack: towels used for blotting, washable school clothes, bedding, or other label-approved laundry.
If you are planning a larger laundry day, Fresh Spin’s self-serve laundromat information can help you plan the visit. For other household care questions, see the Fresh Spin FAQ and Fresh Spin’s laundry-care articles. For current location and general store information, start at Fresh Spin Laundry. Those resources do not replace a backpack manufacturer’s care label; they are separate laundry-planning information.
Backpack Cleaning Questions
Can you put a backpack in the washing machine?
Only if the care label and the manufacturer specifically allow it. Do not treat a fabric backpack as automatically machine washable. JanSport and Osprey both advise against machine washing their backpacks, while other manufacturers may give different model-specific directions.
Can you put a backpack in the dryer?
Do not use a dryer unless the bag’s own label explicitly permits it. Air drying is the safer default in the manufacturer guidance cited here because heat can affect padding, coatings, fabric, and hardware.
How do you clean crumbs out of a backpack?
Empty every compartment, turn the bag upside down, shake gently over a trash can, and use a vacuum attachment or a soft brush for corners and seams. Do that before using any water so crumbs do not turn into paste.
What should you use to clean a backpack?
Use the mildest material-safe method the care label permits. For many bags, that starts with a damp cloth. If the maker permits a cleaner, use only that type and test a hidden area first. Avoid bleach and strong household cleaners unless the maker explicitly allows them.
How do you remove a stain from a backpack?
Identify the stain, check the maker’s care guidance, and begin with a gentle test on a hidden area. Blot and clean gradually rather than scrubbing hard. Ink, oil, paint, mold-like growth, and unknown substances may need material-specific help.
How do you dry a backpack after cleaning?
Open every compartment, loosen straps, and leave the bag in a ventilated place until the lining and padding are fully dry. Blot extra moisture with a towel, but do not twist the bag or use high heat unless the label specifically permits it.
Can you soak a backpack in a sink?
Only if the specific manufacturer allows hand washing or soaking. Some makers provide a controlled sink or tub method; others recommend spot cleaning and advise against full submersion. The label decides.
How do you clean a backpack with a laptop sleeve?
Remove all devices and cables first. Use only the amount of moisture the label allows, keep the padded sleeve open while it dries, and do not return electronics until the compartment is completely dry.
Should you clean a backpack before storing it?
Yes. Empty it, remove crumbs and loose items, address visible dirt according to its instructions, and make sure it is completely dry before storing. A clean, dry bag is less likely to develop a lingering odor from forgotten items.
Does Fresh Spin offer backpack cleaning?
This guide does not represent an acceptance policy for individual backpacks. Fresh Spin’s available services and item handling should be confirmed directly before bringing a specialized item for service. The bag’s manufacturer guidance remains the first reference for cleaning the bag itself.
The Practical Rule to Remember
The safest backpack-cleaning rule is simple: let the backpack’s instructions set the limit, then use the least aggressive method that gets the job done. Start dry, clean locally when possible, avoid generic machine-wash advice, and air dry completely. That approach takes a little more attention than tossing the bag in a load, but it is much more likely to protect the bag you depend on every day.
Leave A Comment